How to Transport a Decorated Cake Without Ruining It
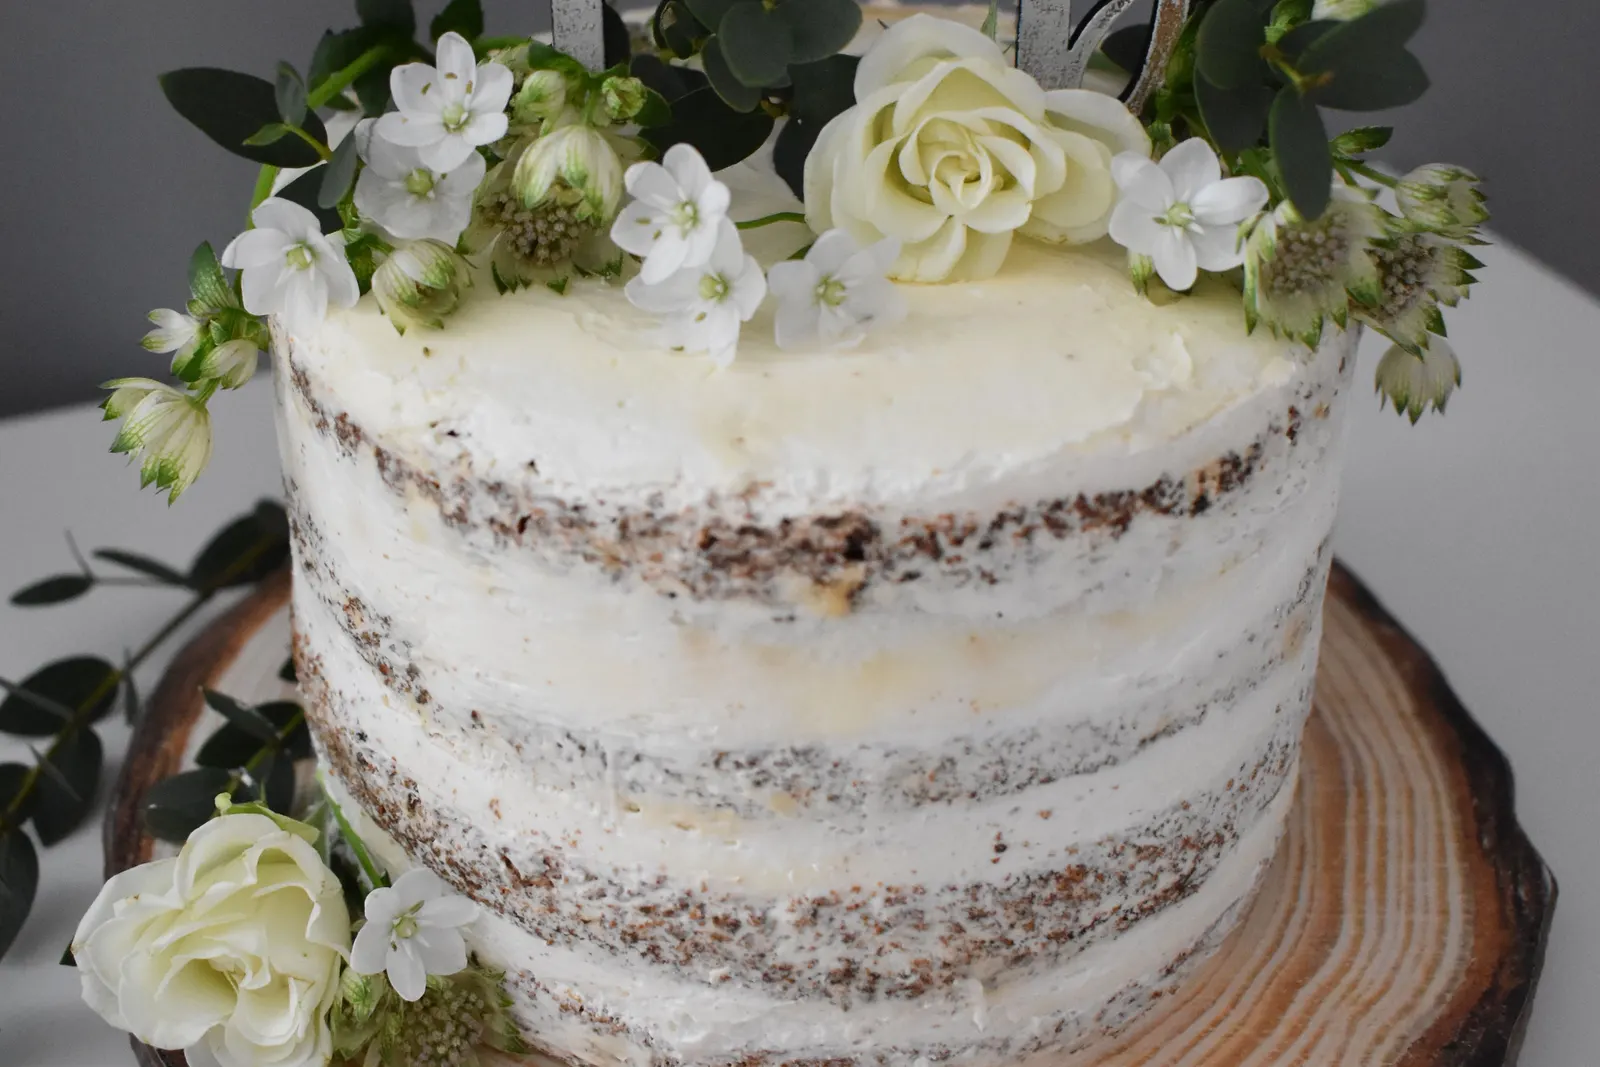
Getting a finished cake from your kitchen to a car, and from a car to a party, is its own skill separate from baking and decorating it. A little preparation before you ever leave the house makes the biggest difference.
Before You Leave: Chill It
Refrigerate (or briefly freeze) the finished cake right after decorating. Cold firms up frosting and buttercream significantly, making it far less likely to smudge, dent, or slide from handling and vibration during transport.
Secure the Cake to a Sturdy Board
A cake board at least 2 inches larger than the cake itself gives you something stable to grip that isn't the cake. For tall or heavy tiered cakes, taping two or three boards together adds extra rigidity. A small dab of frosting between the cake and the board helps anchor it in place.
Pick the Right Box
A box sized close to the cake board, and at least 2 inches taller than the cake (more if it has piped decorations or a tall topper), keeps the cake from sliding around and protects any decorations from getting crushed against a lid. Insert a few toothpicks or cotton swabs into the frosting under where plastic wrap or a lid might touch, so it rests on the picks instead of directly on the decorations.
Pack Delicate Decorations Separately
Fresh flowers, gum paste pieces, candles, or anything fragile travels better in its own small container, added to the cake once you've arrived rather than risking it during the drive.
During the Drive
Keep the cake flat and level — a tilted cake lets frosting slide, even when chilled. Place it on a flat section of the car floor (often more stable than a seat) and, if possible, have a passenger hold or stabilize it rather than relying on a seatbelt alone. Avoid direct sunlight and excess heat, since car air conditioning doesn't always reach the back seat or floor evenly — a cooler bag or ice packs nearby can help on a hot day. Drive smoothly: gentle acceleration, gradual braking, and wide turns.
On Arrival
Inspect the cake before unveiling it, and make any small touch-up repairs (a smoothed edge, a replaced decoration) with a small offset spatula and a little reserved frosting, kept on hand for exactly this purpose.
Frequently Asked Questions
Transporting a cake successfully is mostly about reducing variables before you leave — a chilled, well-secured cake in a properly sized box handles far better than one assembled and packed in a rush.
Celebration Cakes for Every Occasion covers planning, sizing, and transport for cakes made for real events and gatherings.
See Celebration Cakes for Every OccasionRelated Articles
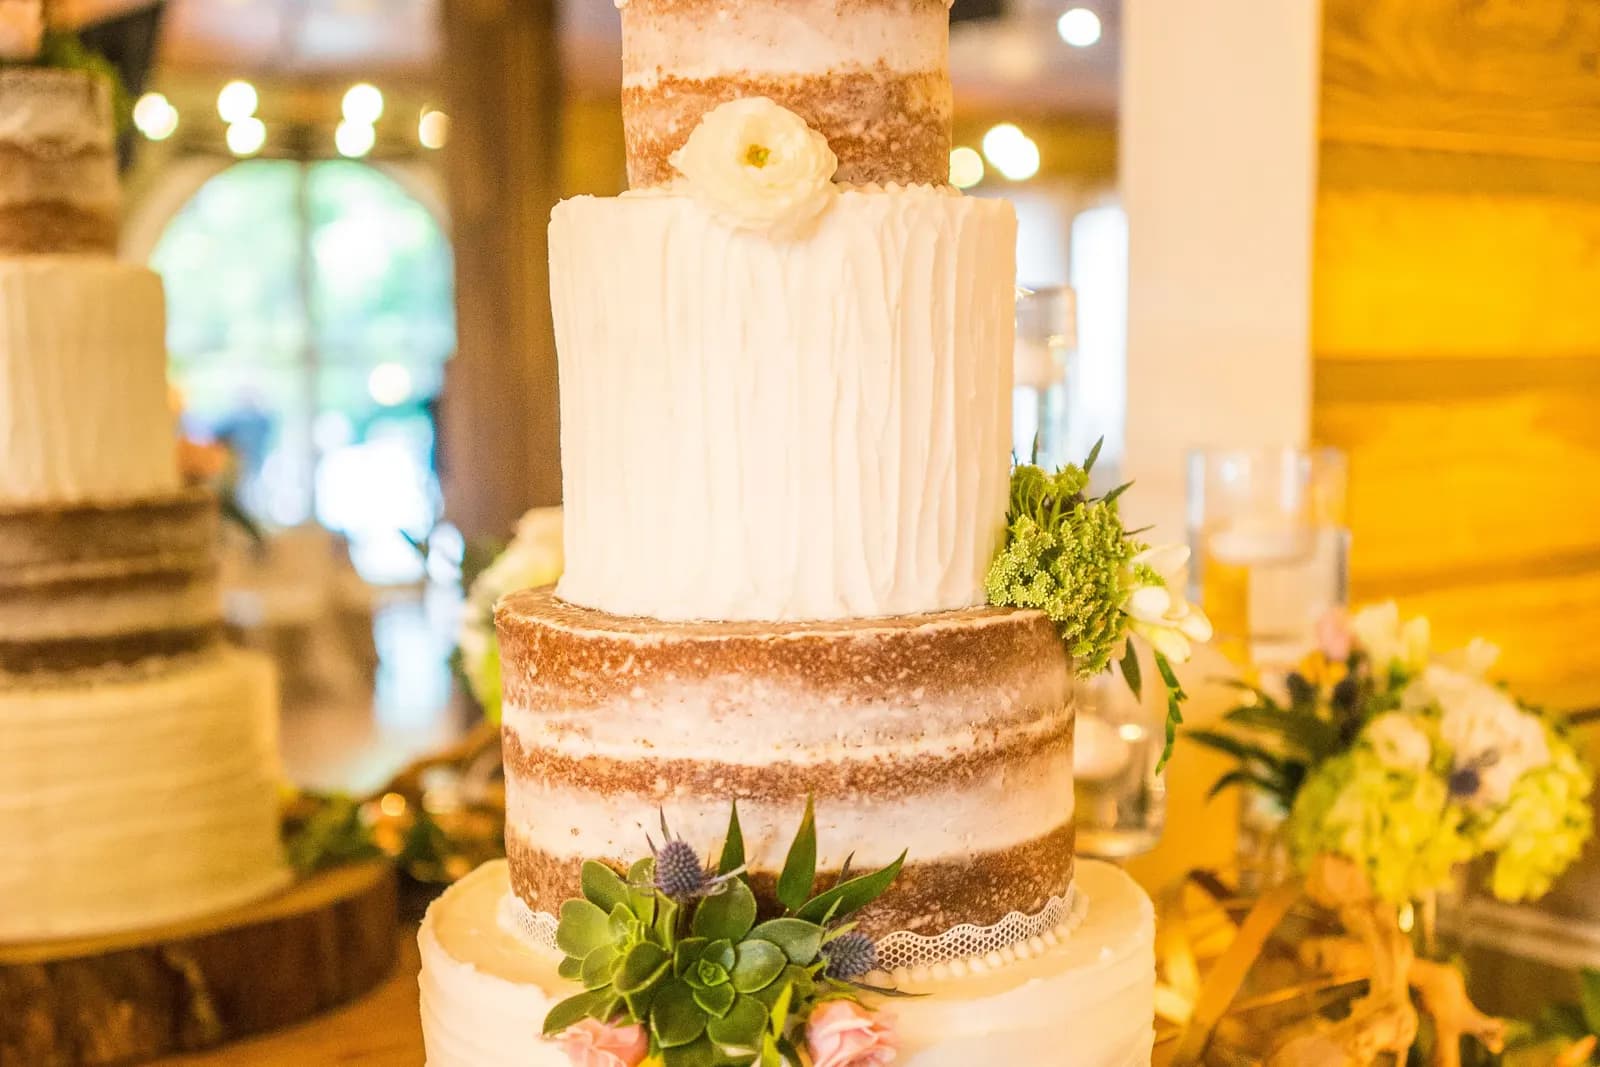
Naked Cake Style: How to Get the Look and Avoid Common Mistakes
A naked cake looks effortlessly rustic, but getting that clean, intentional look — rather than a messy, underfrosted one — actually takes a specific technique.
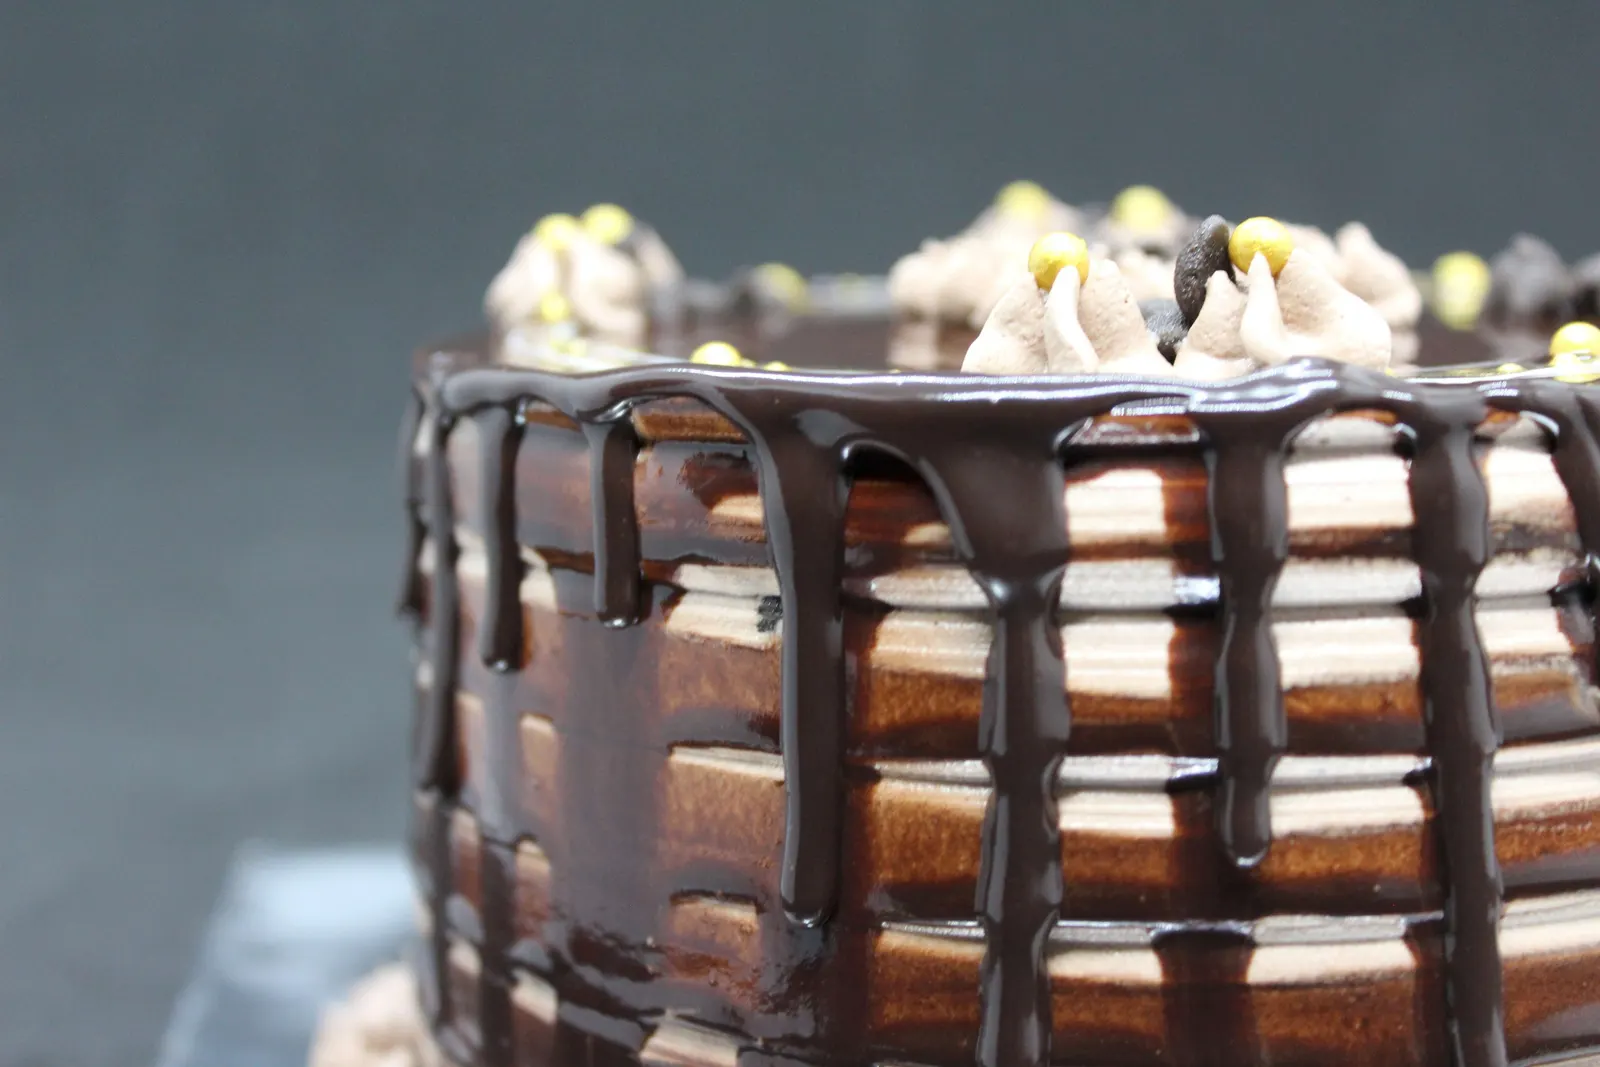
Chocolate Ganache Drip Cake: Step-by-Step Guide
A drip cake's signature look comes down to two variables: the ganache's chocolate-to-cream ratio, and its temperature when applied. Here's the full method.
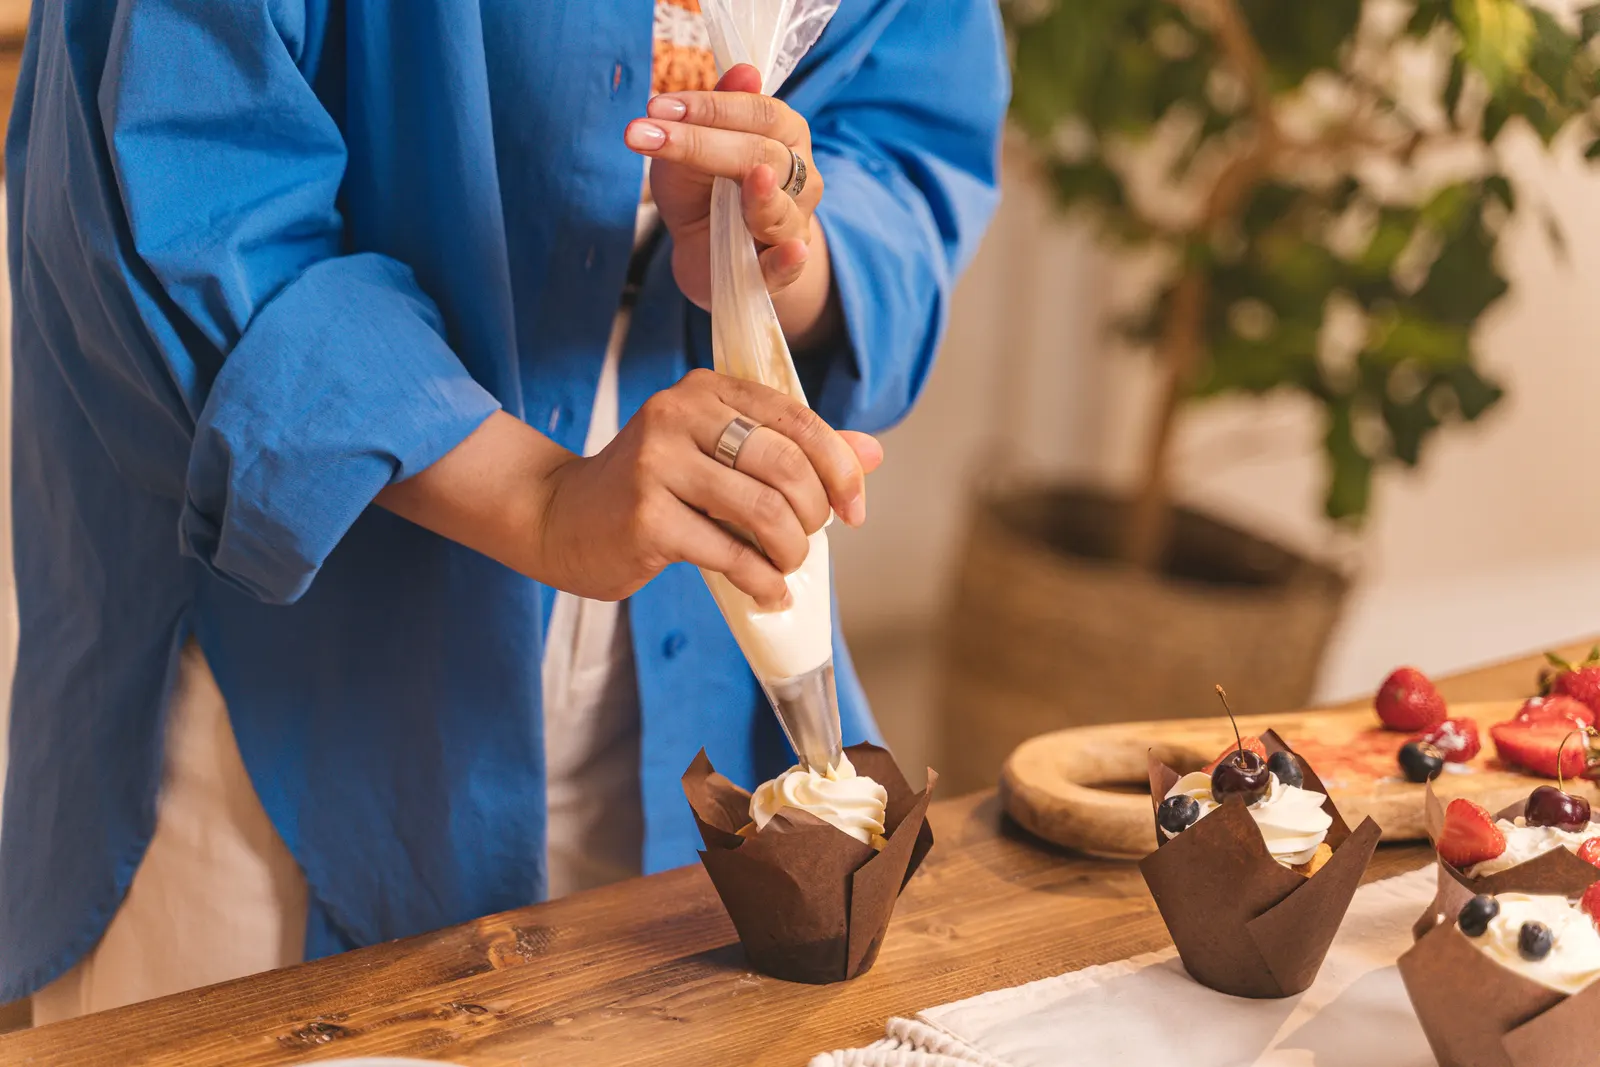
How to Fill Piping Bags and Pipe Cupcake Frosting Like a Bakery
That tall, even bakery-style swirl isn't about a special trick — it's about frosting consistency, the right tip, and consistent pressure. Here's the full technique.