How to Bake a Moist Vanilla Cake from Scratch
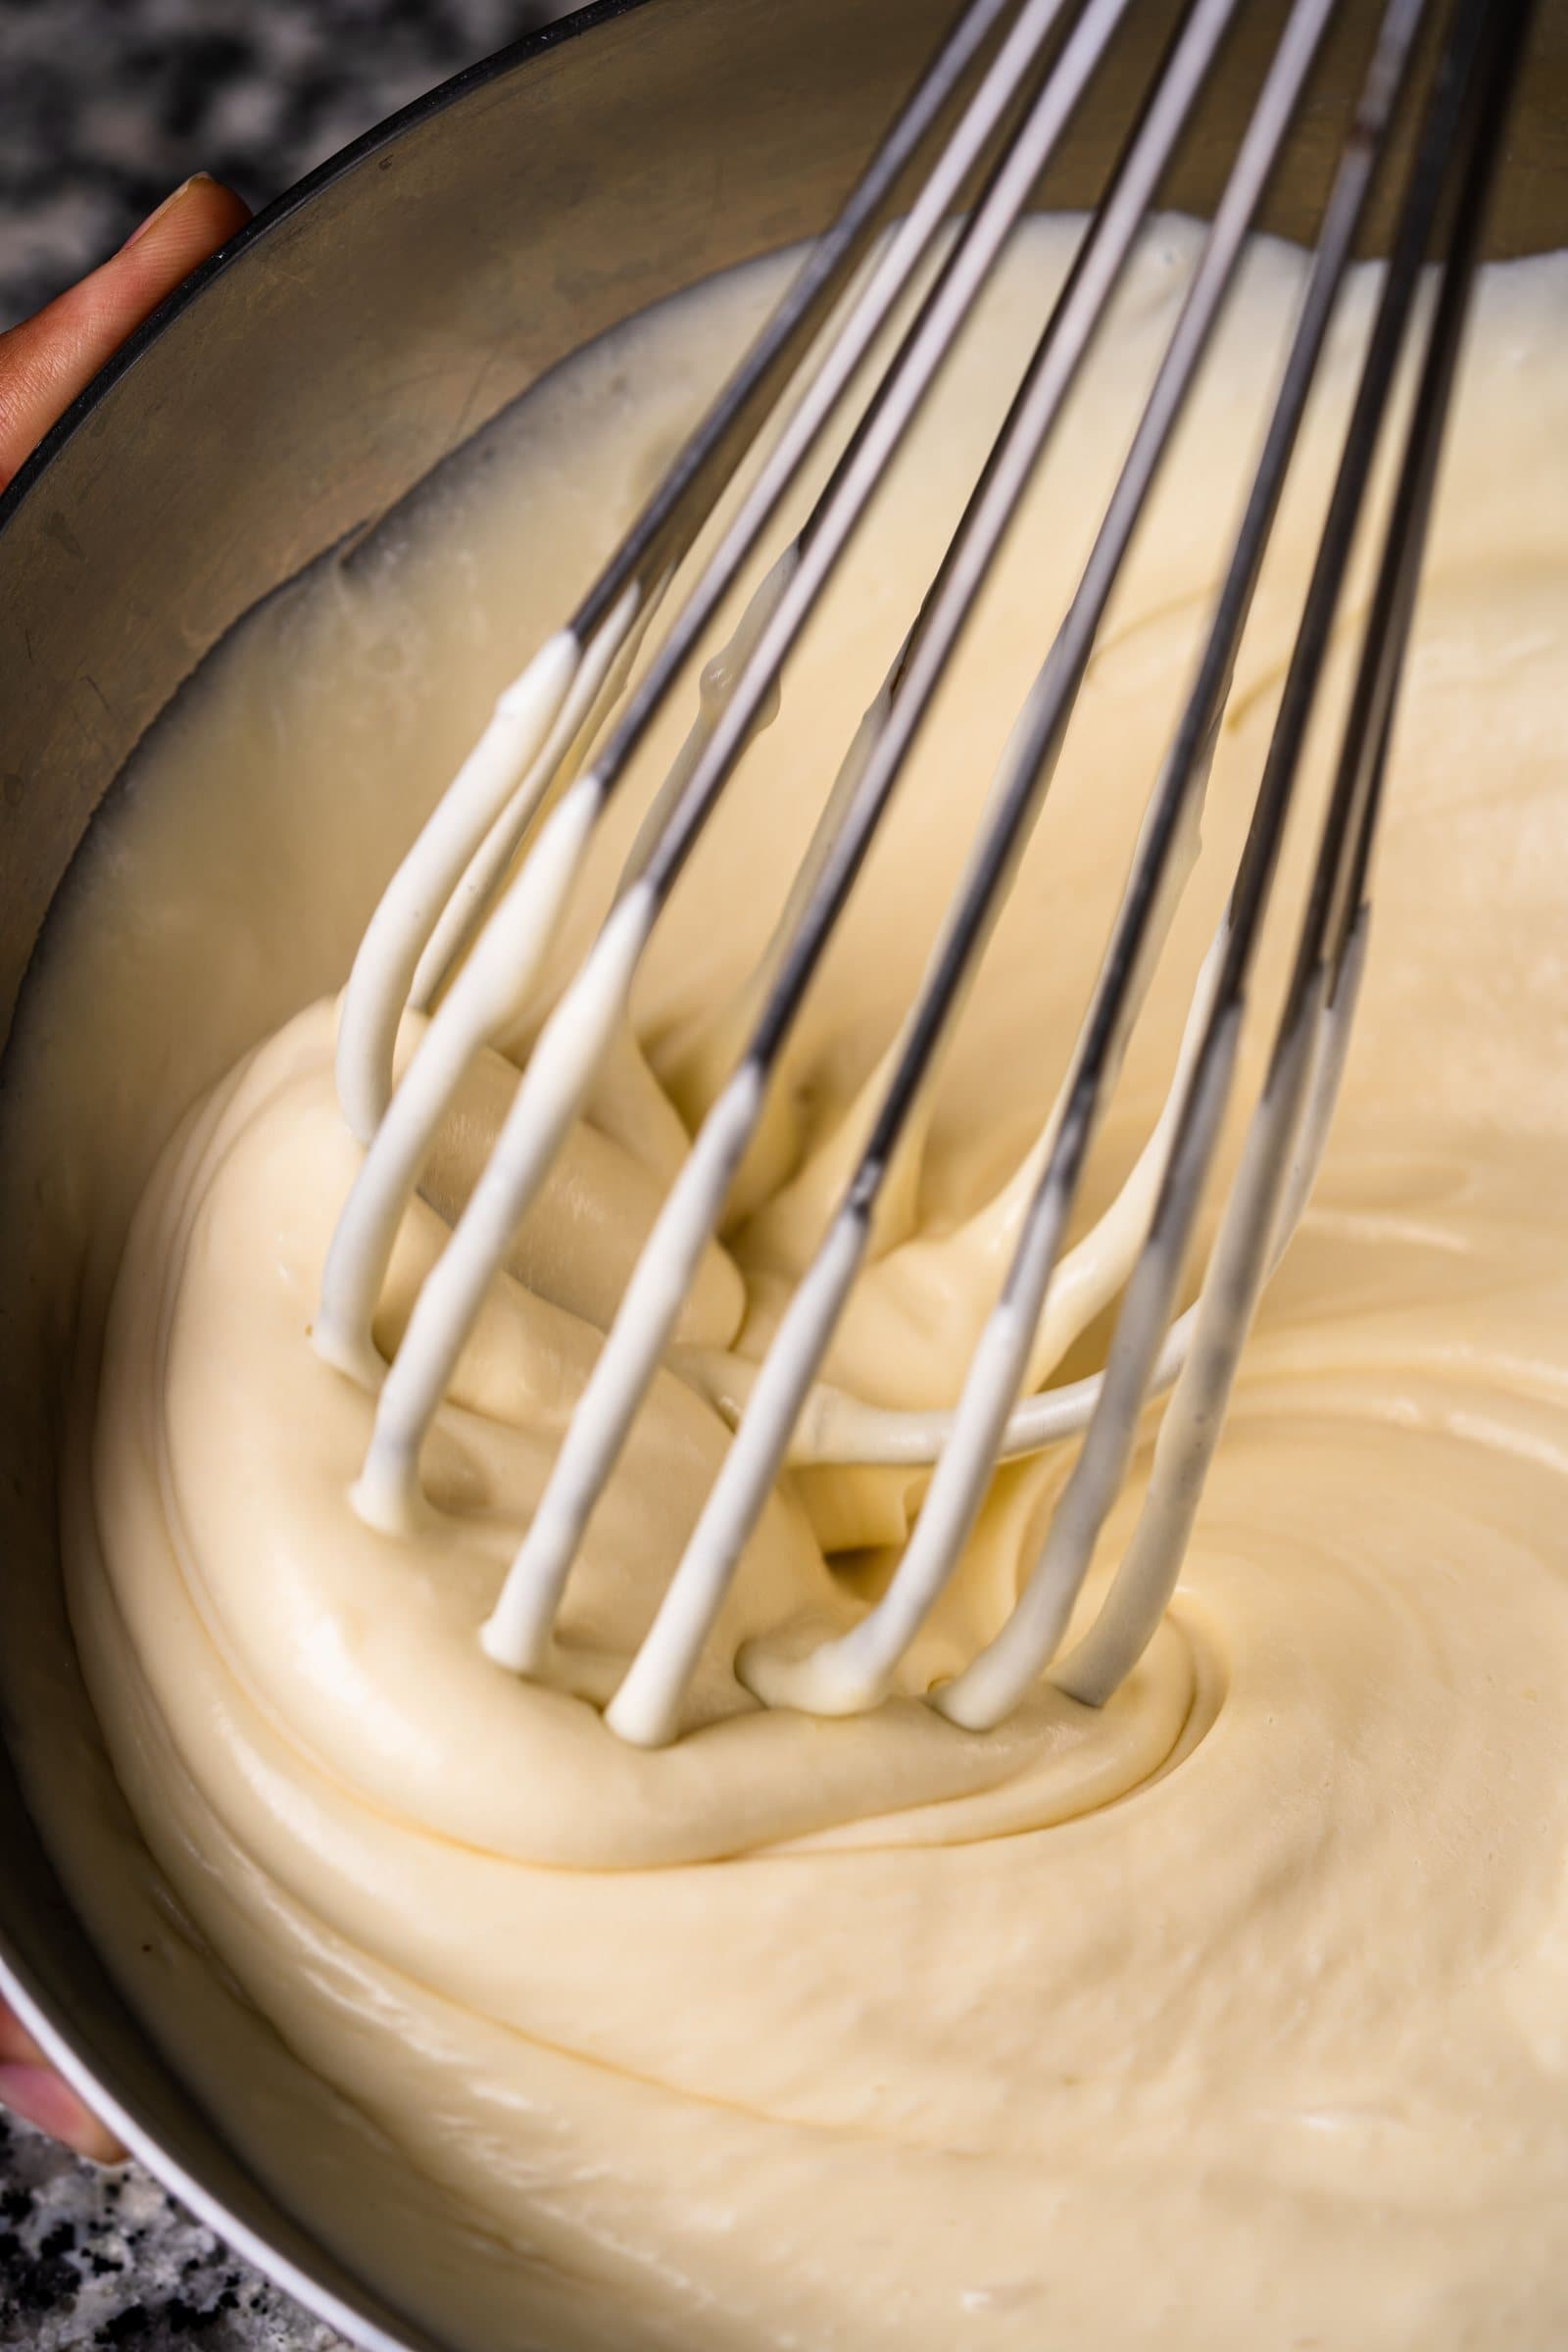
A good vanilla cake is harder to get right than it looks. Too much flour, an oven that runs hot, or butter that's too cold, and you end up with something dry or dense instead of the soft, even crumb you were picturing. This recipe uses a standard creaming method with exact measurements, so the result is repeatable rather than a matter of luck.
Below is the full recipe — ingredients in both metric and US measurements, mixing steps, bake time, and doneness cues — followed by the handful of details that make the real difference between a dry cake and a moist one.
Moist Vanilla Cake Recipe
Prep time: 25 minutes. Bake time: 28–32 minutes. Pan size: two 9-inch (23cm) round cake pans. Oven temperature: 350°F / 175°C. Yield: one 2-layer 9-inch cake, about 12 servings.
- Ingredients — 2 3/4 cups (345g) all-purpose flour
- 2 1/2 tsp baking powder
- 1/2 tsp salt
- 1 cup (226g) unsalted butter, softened to room temperature
- 1 3/4 cups (350g) granulated sugar
- 4 large eggs, room temperature
- 1 tbsp (15ml) vanilla extract
- 1 1/4 cups (300ml) whole milk, room temperature
Method
Follow these steps in order — the sequence (creaming, then eggs, then alternating dry and wet ingredients) is what keeps the crumb even rather than dense in spots.
- 1. Heat the oven to 350°F/175°C. Grease two 9-inch round pans and line the bottoms with parchment paper.
- 2. Whisk the flour, baking powder, and salt together in a medium bowl and set aside.
- 3. Beat the softened butter and sugar on medium-high speed for a full 3–4 minutes, until visibly pale and fluffy — this step builds the air that gives the cake its lift, so don't shortcut it.
- 4. Add the eggs one at a time, beating for about 20 seconds after each and scraping down the bowl, then beat in the vanilla extract.
- 5. With the mixer on low, add a third of the flour mixture, then half the milk, then another third of the flour, the rest of the milk, then the last of the flour — starting and ending with the dry ingredients. Mix just until each addition disappears; stop as soon as no dry streaks remain.
- 6. Divide the batter evenly between the two pans (a kitchen scale makes this exact) and smooth the tops.
- 7. Bake 28–32 minutes, until a toothpick inserted in the center comes out with a few moist crumbs (not wet batter), the cake springs back lightly when pressed, and the edges have just begun to pull away from the pan.
- 8. Cool the layers in their pans for 10 minutes, then turn out onto a wire rack to cool completely before filling or frosting.
Why Mixing Order and Butter Temperature Matter
Creaming butter and sugar together isn't just about combining them — it's about beating air into the butter, which expands in the oven and gives the cake its rise. Butter that's too cold won't hold air properly, and butter that's melted or too warm collapses instead of creaming, so aim for butter that gives slightly when pressed but isn't shiny or soft.
Alternating the flour and milk, rather than dumping everything in at once, keeps the gluten in the flour from overdeveloping. Overmixed batter bakes up tight and a little tough; the goal is to mix just until the streaks of flour disappear, not until the batter looks perfectly smooth.
What Actually Keeps This Cake Moist
Three things in this recipe specifically work against dryness: full-fat milk (lower-fat milk gives a drier crumb), room-temperature eggs and milk (cold ingredients can cause the batter to look curdled and bake unevenly), and pulling the cake as soon as the toothpick test passes rather than leaving it in "to be safe." A minute or two of overbaking is usually the real difference between moist and dry.
If you want a slightly richer, more tender crumb, you can swap up to a quarter of the milk for buttermilk or sour cream — the added acidity tenderizes the gluten further. It's not required for a good result, just an option.
Troubleshooting
A few common results and their most likely causes:
- Dry or crumbly: most often overbaking — start checking for doneness at the 26-minute mark next time, and double-check your oven temperature with a separate oven thermometer, since many ovens run hot or cool by 15–25°F.
- Dense or gummy: usually undermixed dry ingredients (streaks of flour baked into a heavy pocket) or batter that sat too long before baking, letting the baking powder lose some lift.
- Domed or cracked top: the oven may be running hot, or the pans were too full — fill cake pans no more than two-thirds full.
- Sunk in the middle: see why does my cake sink in the middle for a full breakdown of causes.
Storage
Unfrosted layers keep well wrapped tightly in plastic wrap at room temperature for up to 2 days, or in the refrigerator for up to 5 days. For longer storage, wrap cooled, unfrosted layers tightly in plastic wrap and then foil and freeze for up to 2 months; thaw wrapped at room temperature before filling or frosting. See how to store, freeze, and thaw cakes for frosted-cake storage specifics.
Frequently Asked Questions
A moist vanilla cake comes down to a handful of specifics: real butter creamed properly, room-temperature eggs and milk, mixing just until combined, and pulling the cake the moment it passes the toothpick test. Get those right and the recipe is genuinely repeatable, not a matter of luck.
This recipe is based on standard baking ratios for a creamed vanilla layer cake, not on documented testing of this exact batch — if anything looks off in your oven, use the troubleshooting section above to adjust next time.
For 25 complete cake recipes plus six lessons on mixing, pans, and troubleshooting, Cake Baking for Beginners walks through this and more in full detail.
See Cake Baking for BeginnersRelated Articles
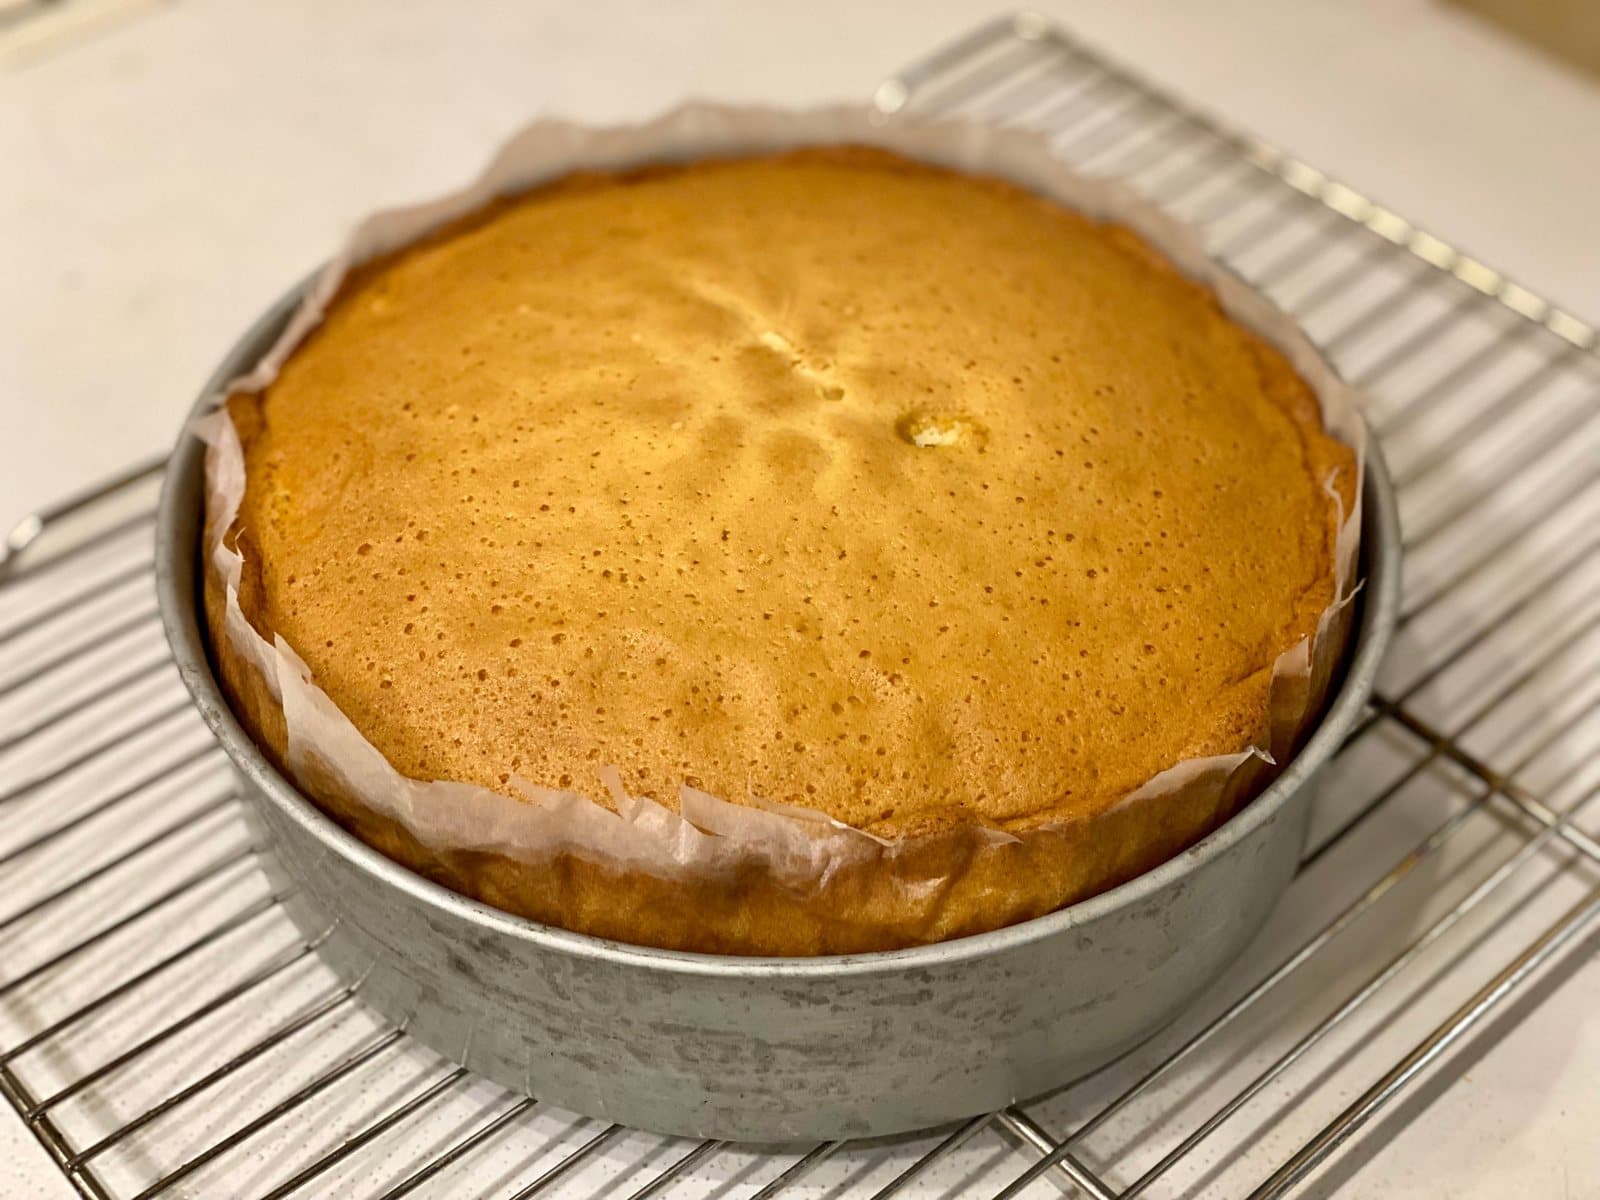
Why Does My Cake Sink in the Middle? 9 Common Causes and Fixes
A cake that sinks in the middle has a specific, findable cause — almost always one of nine things. Here's how to work out which one happened and what to change next time.
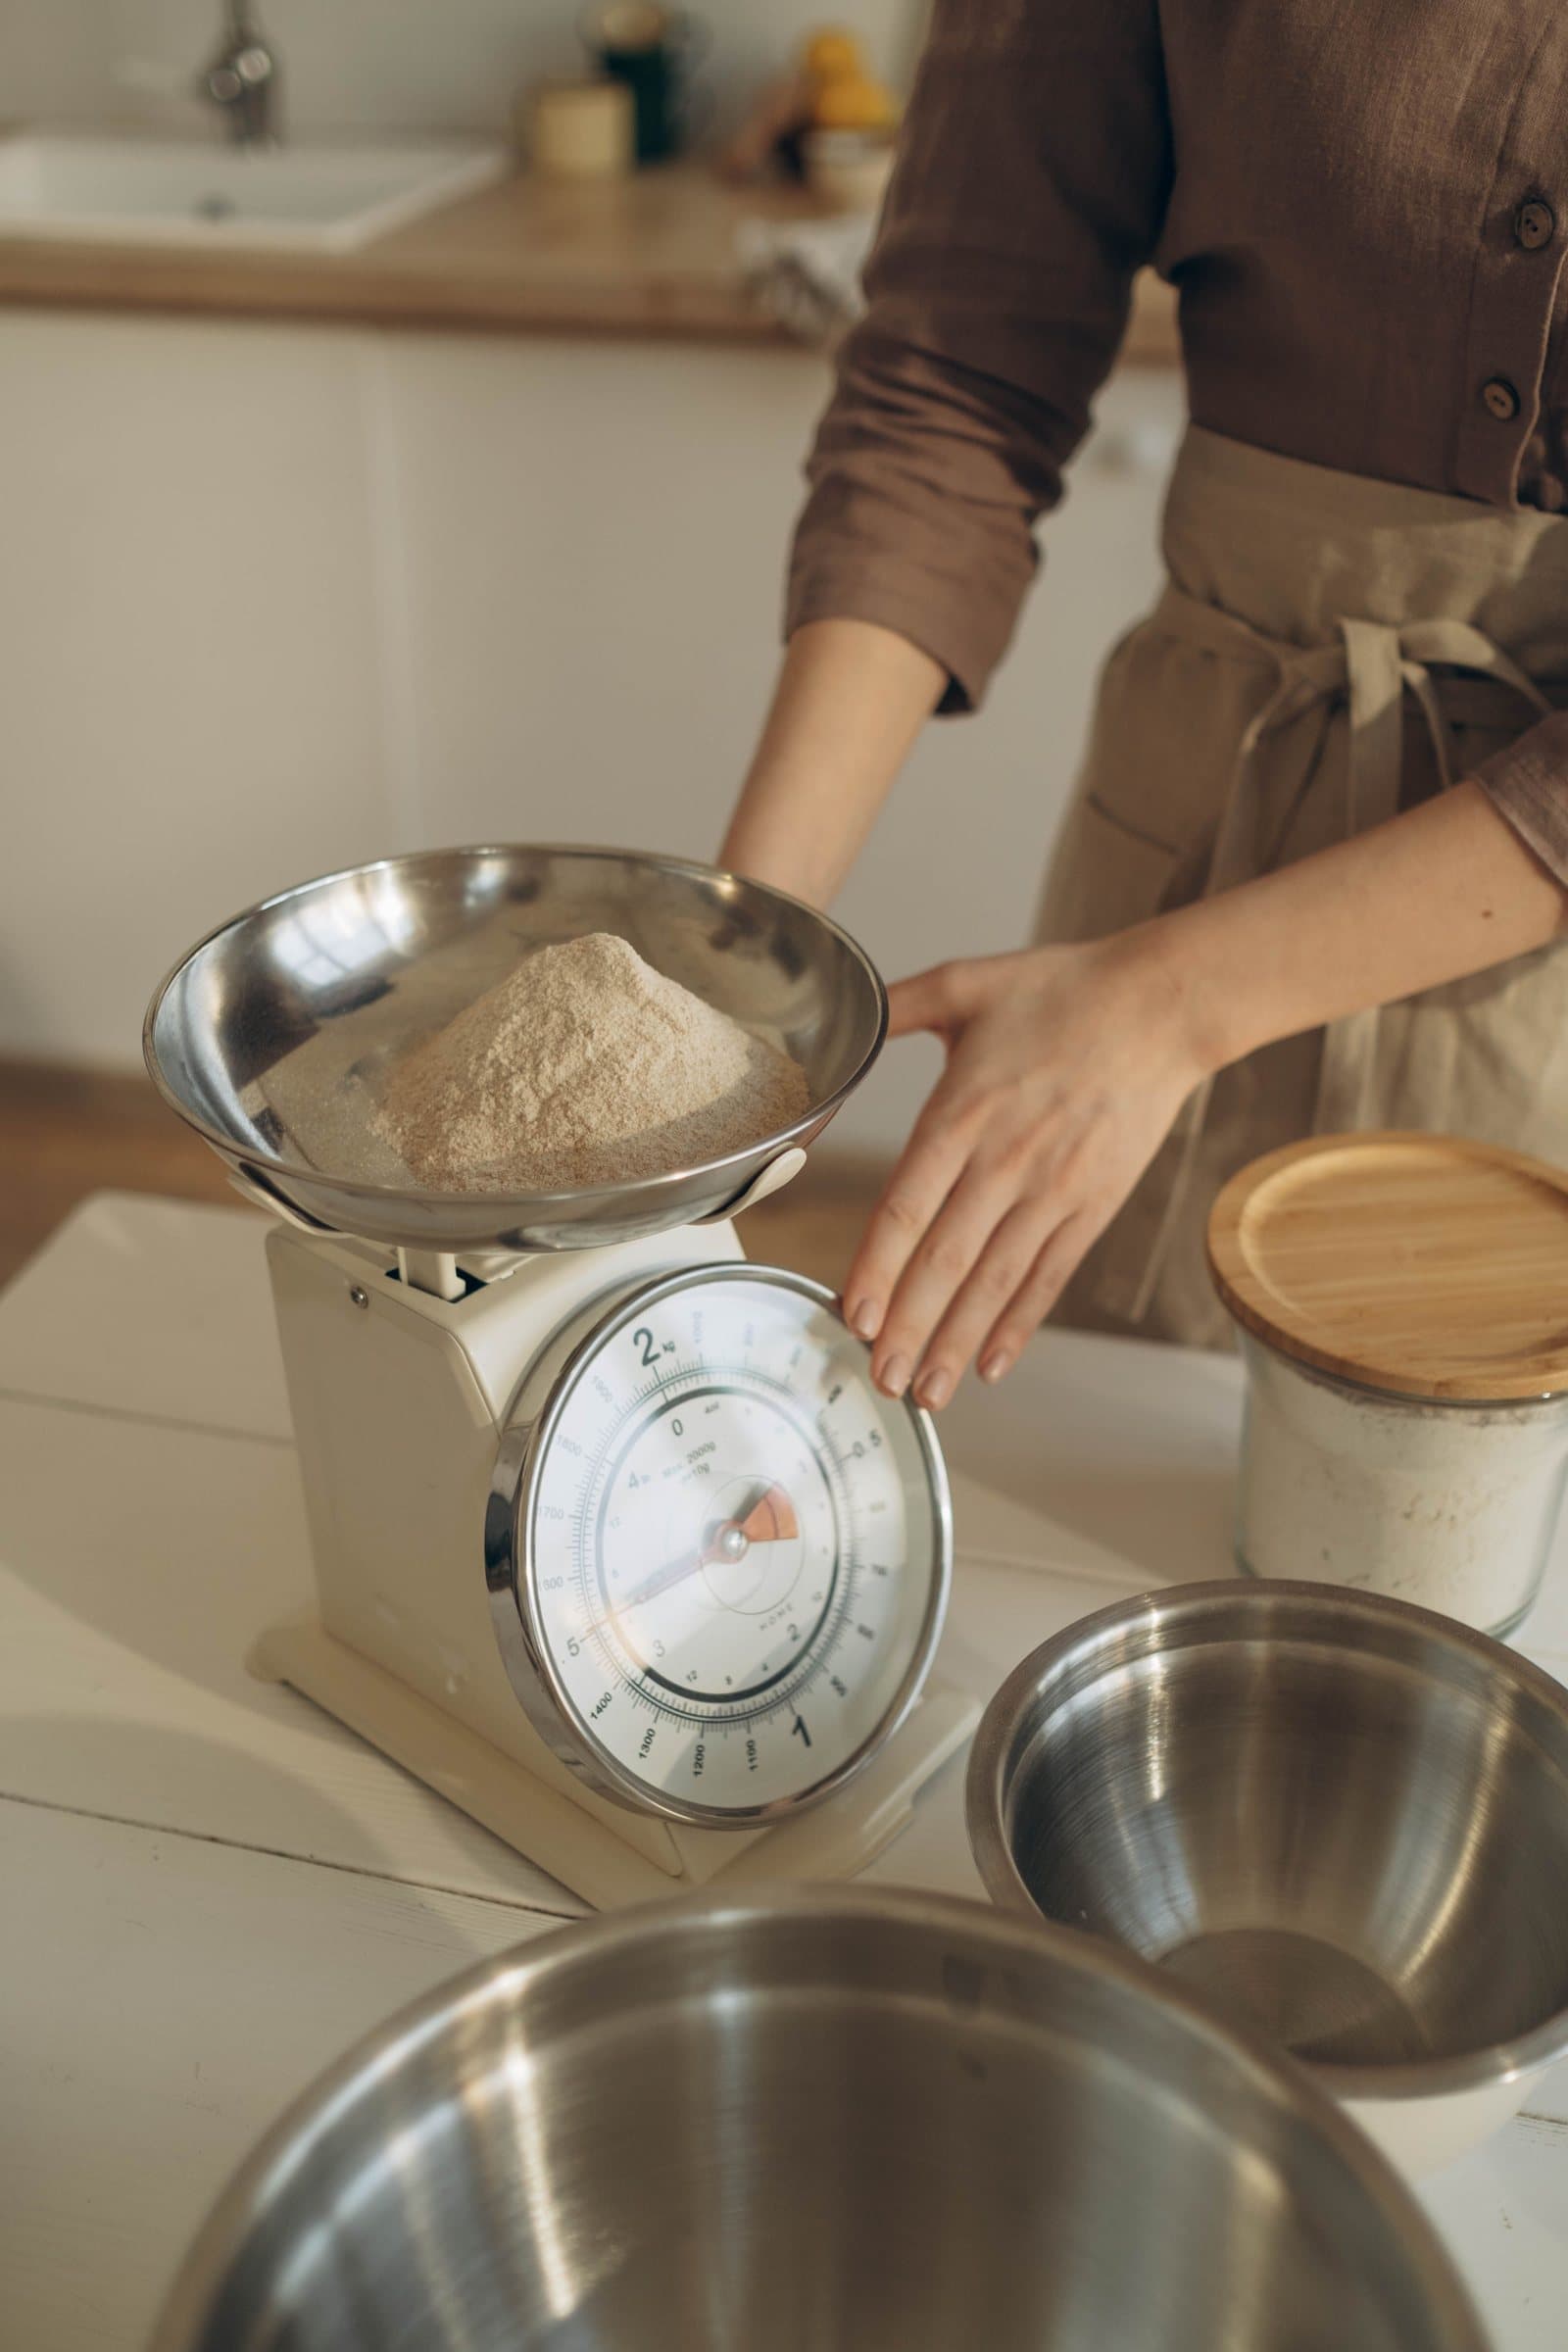
How to Measure Cake Ingredients Accurately: Cups vs. Grams
The same "1 cup of flour" can weigh anywhere from 120g to 150g depending on how it's measured. Here's how to measure accurately with cups, and why grams remove the guesswork entirely.
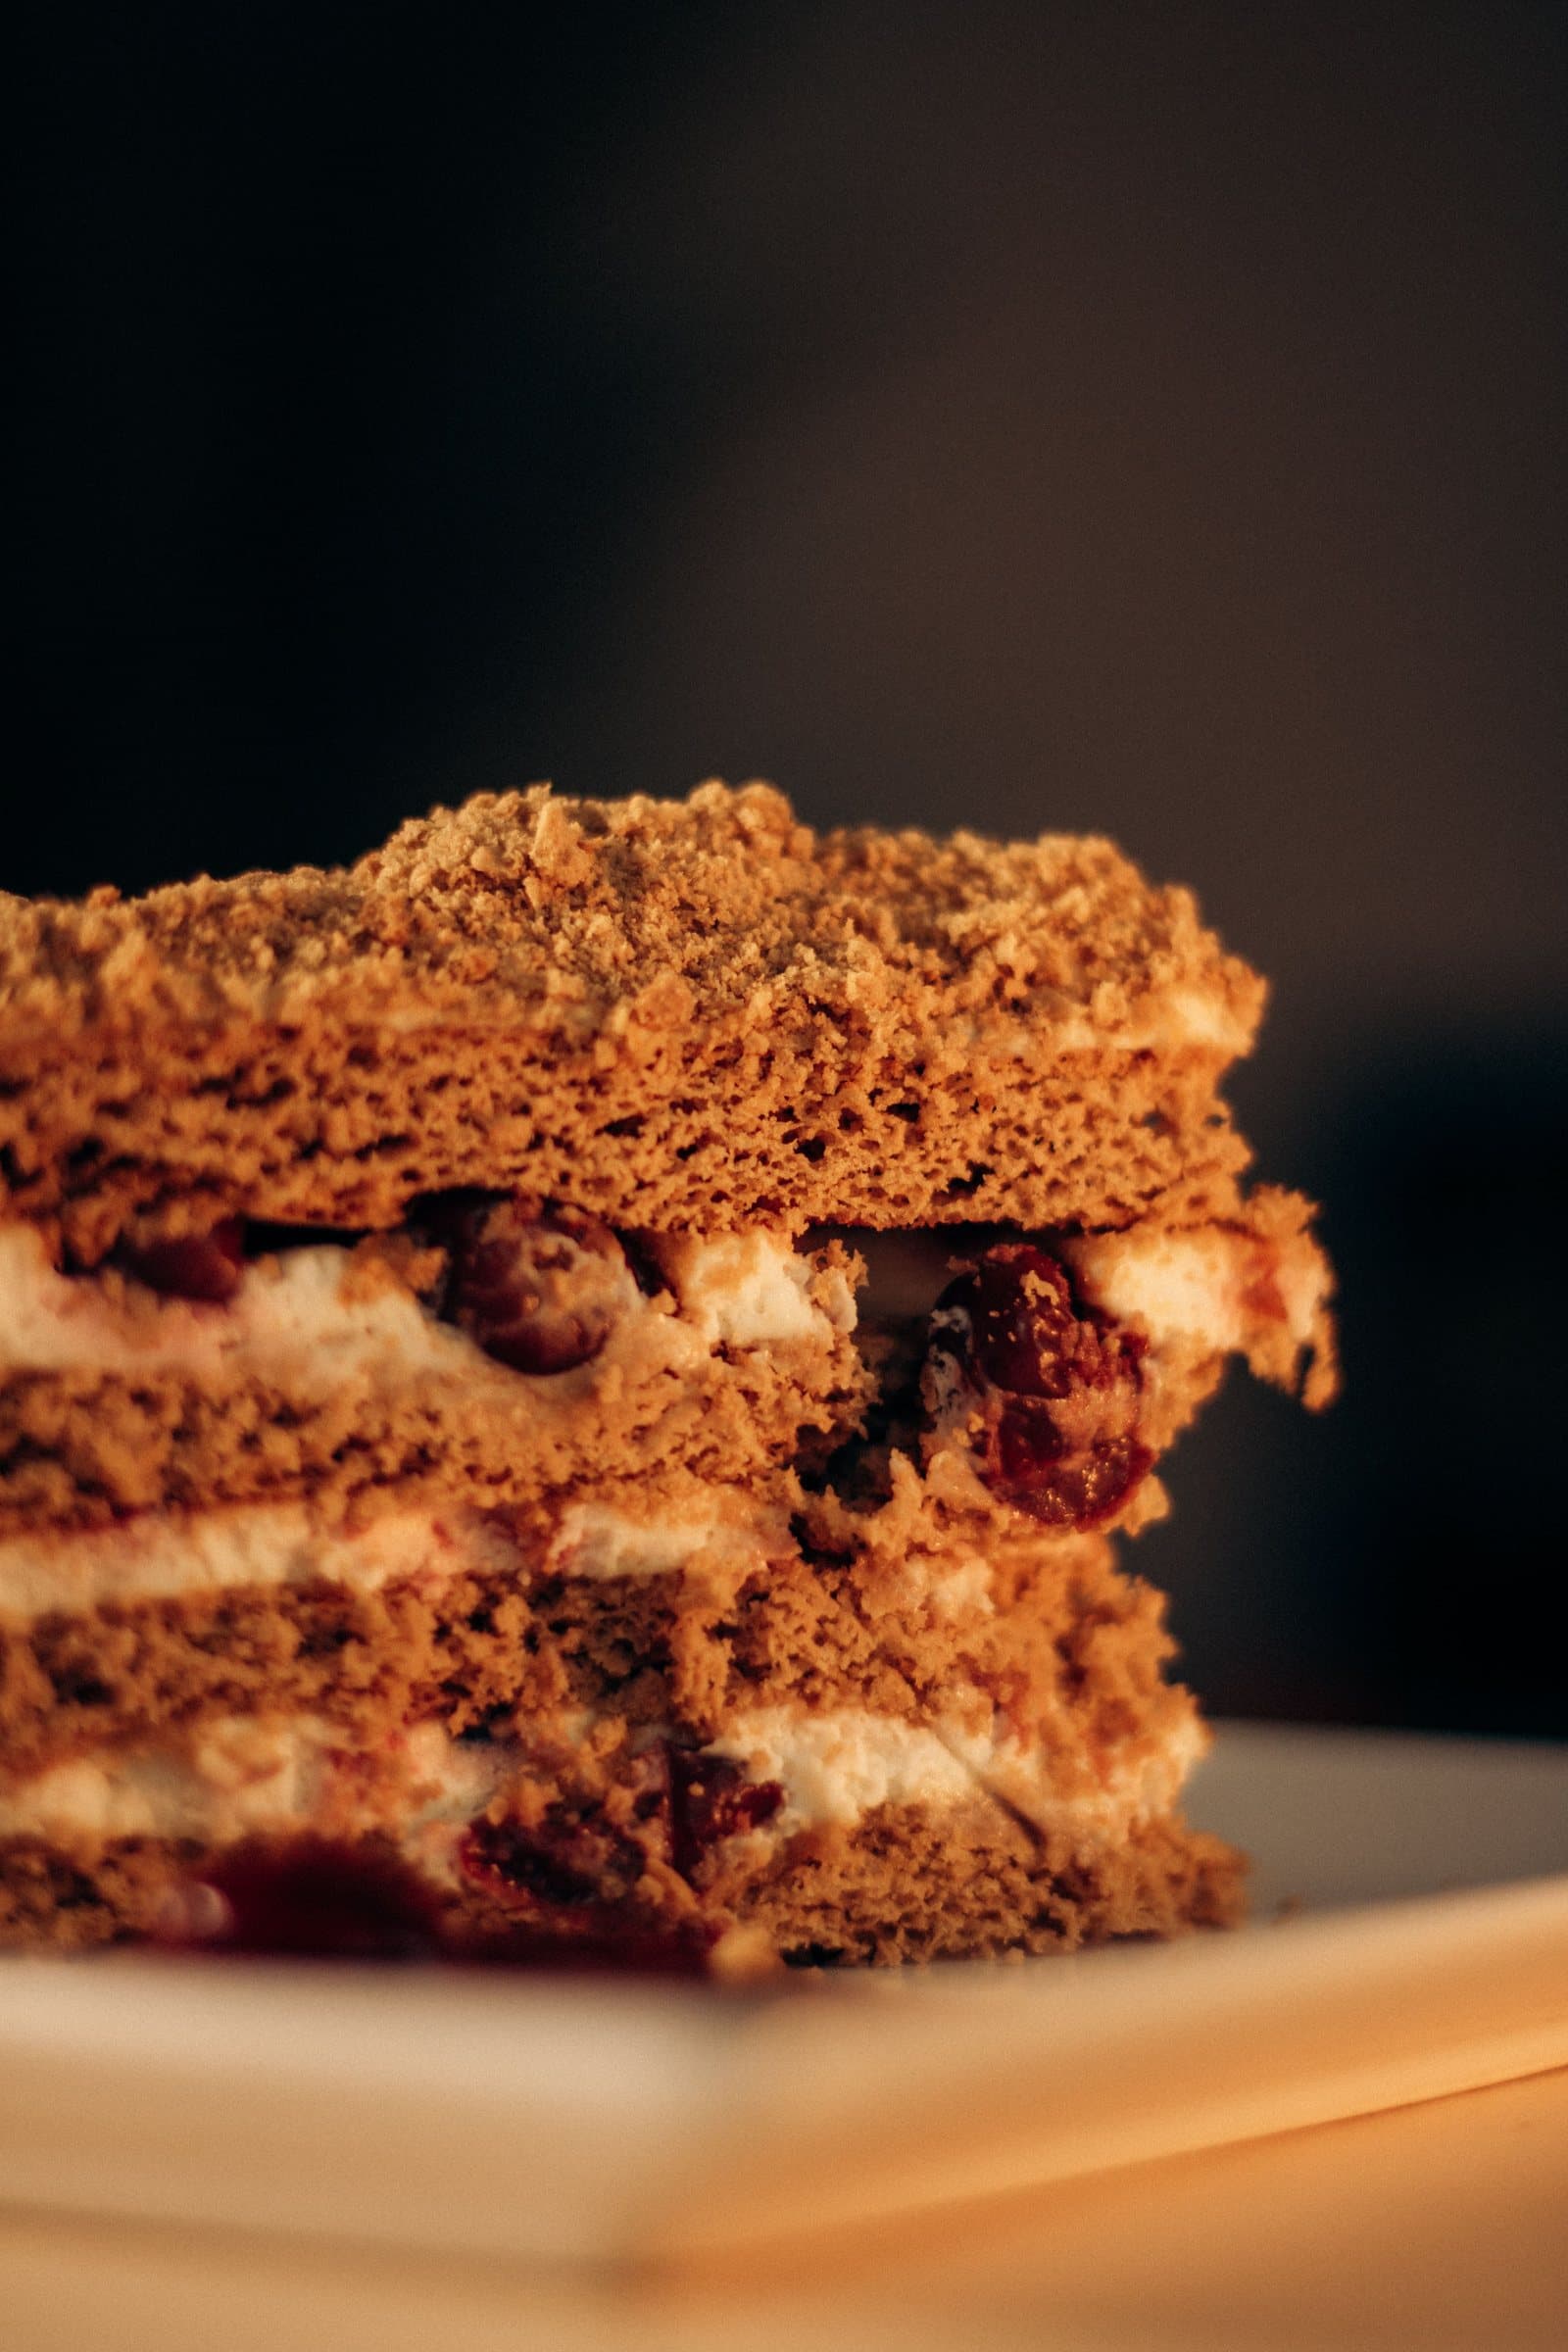
How to Level, Fill, and Stack a Layer Cake for Beginners
Leveling, filling, and stacking are what separate a cake that leans or slides from one that stands straight and cuts clean. Here's the full process, step by step.