How to Level, Fill, and Stack a Layer Cake for Beginners
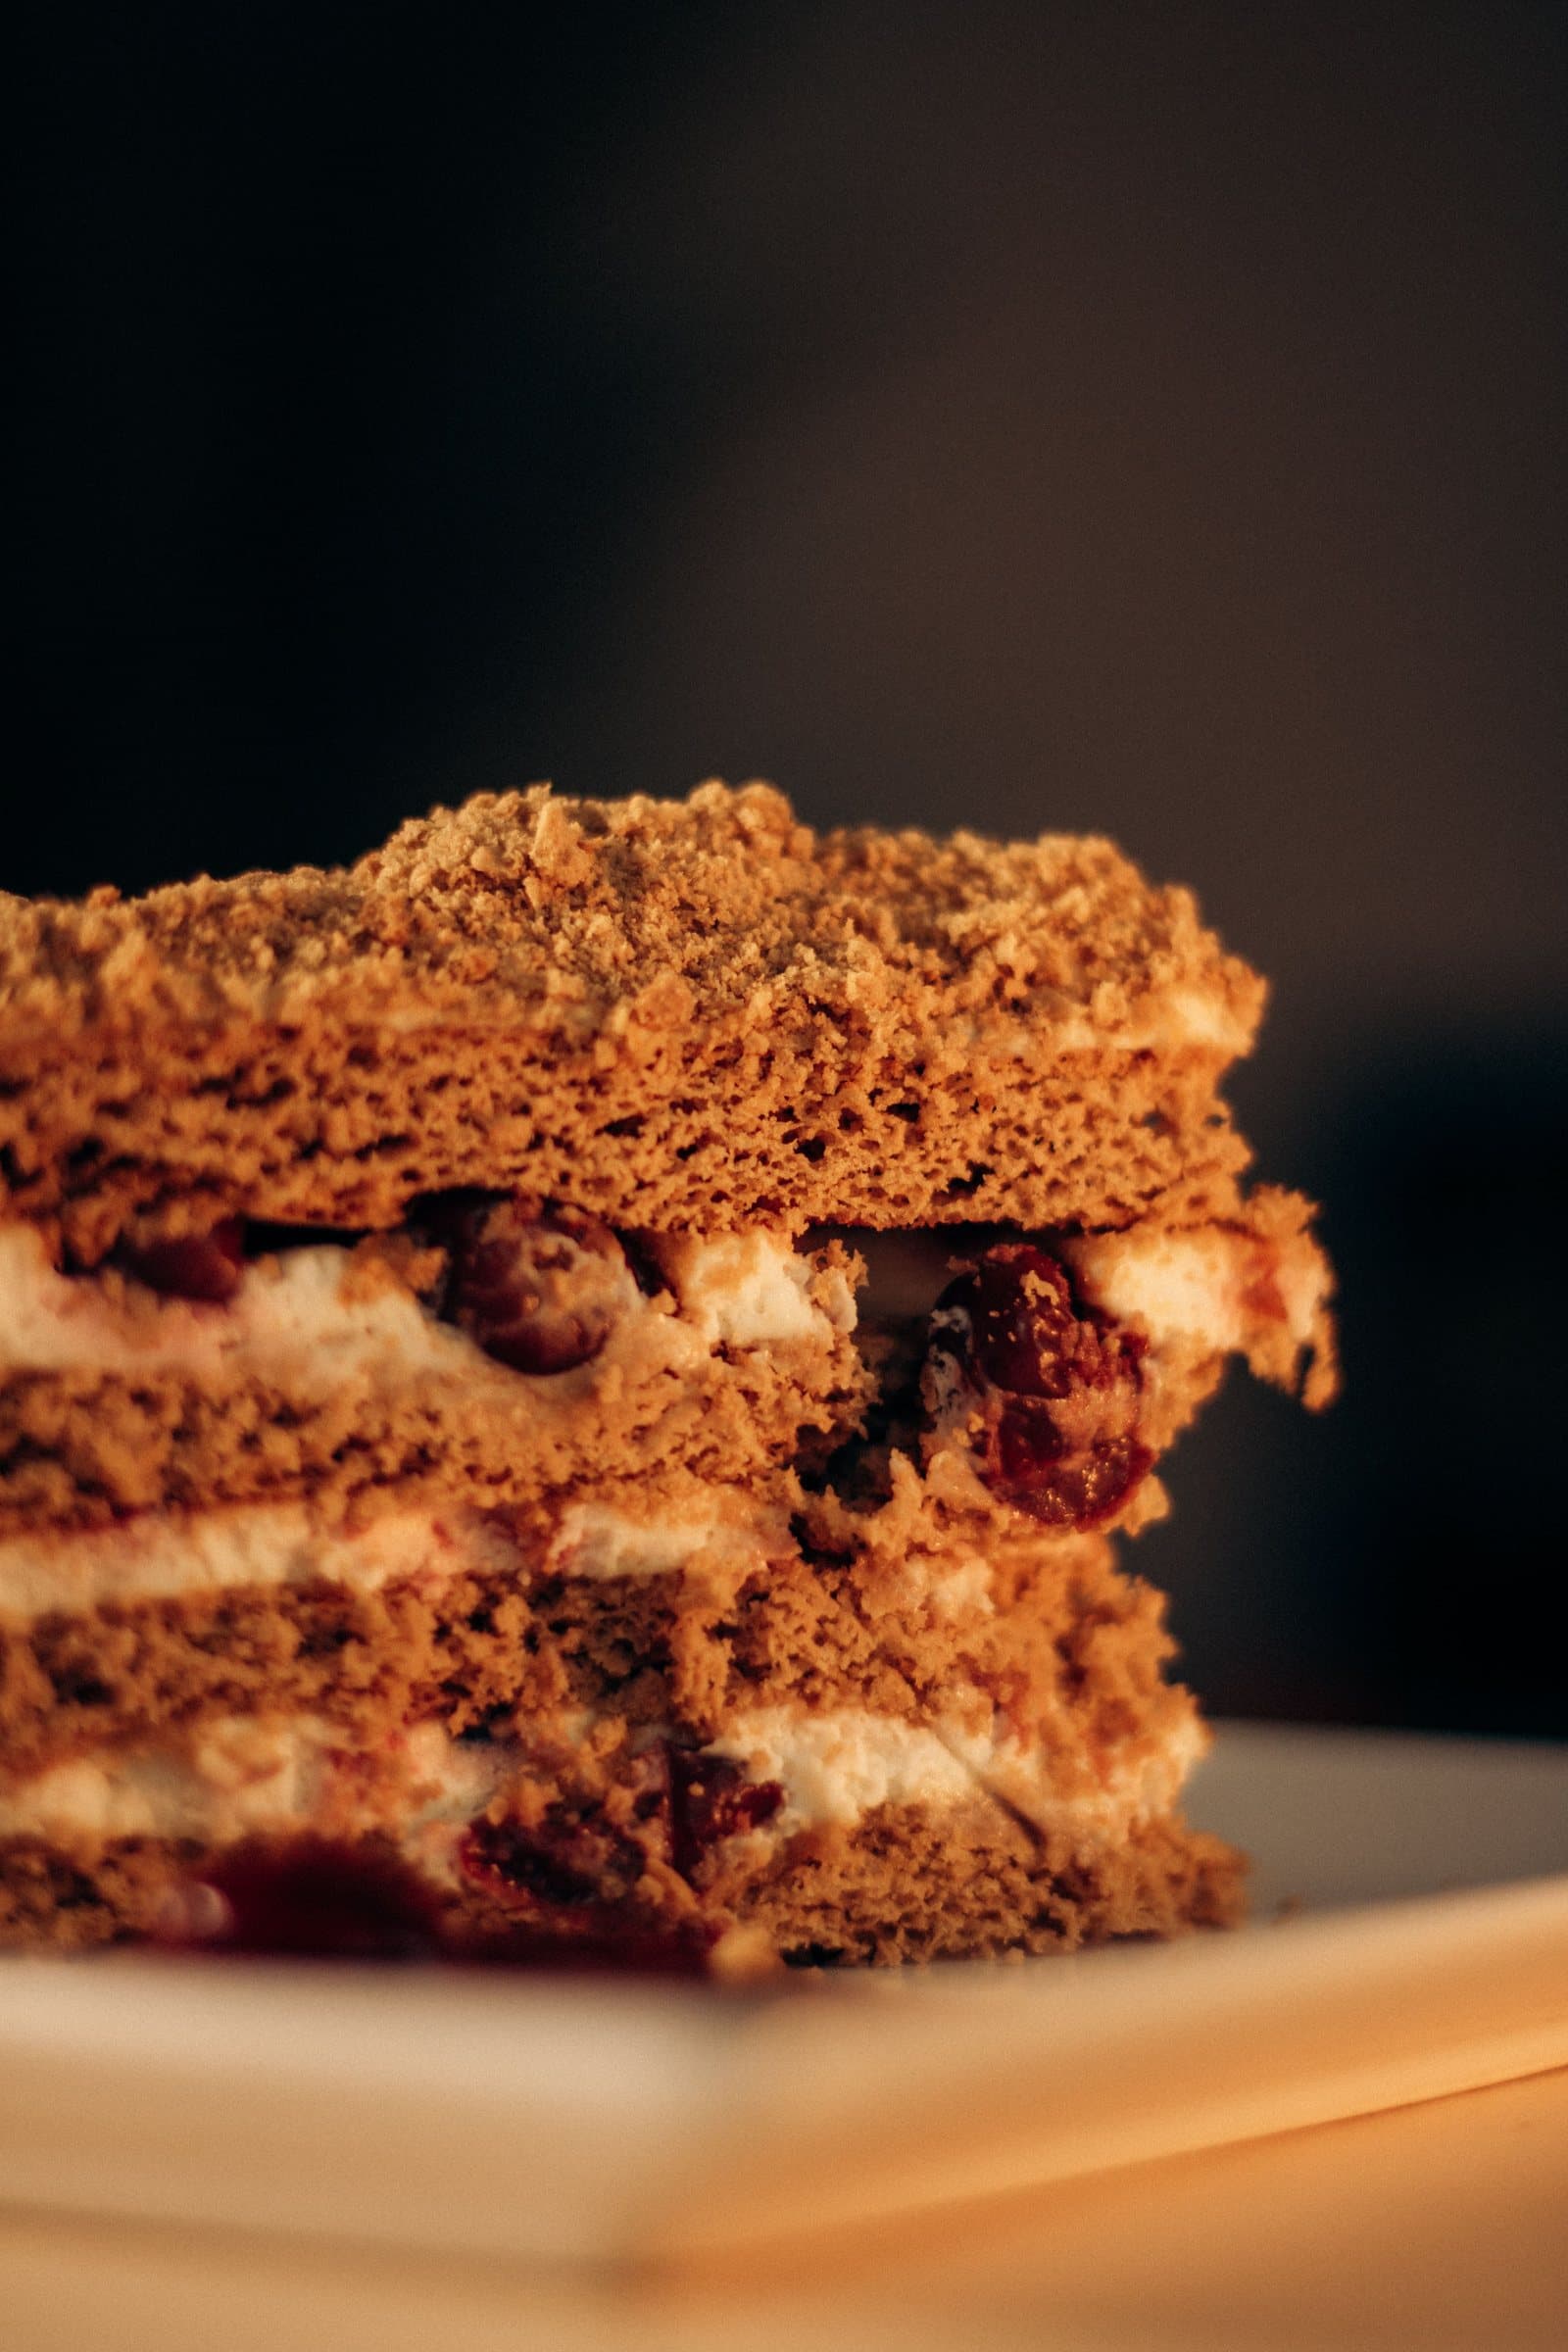
Most layer cakes don't fail because of the sponge — they fail during assembly, when a layer that's still warm gets filled too soon, or a dome is never leveled off and the whole stack leans to one side. None of the steps here require special skill, just doing them in the right order and giving the cake time to cool and set at each stage.
This walks through the full process for a classic two- or three-layer cake: cooling, leveling, filling, crumb coating, and stacking, plus the specific things that keep a tall cake stable rather than sliding.
1. Cool the Layers Completely First
This is the step most often rushed, and it's the one that causes the most problems later. A warm cake layer is soft and fragile — frosting or filling it warm melts the filling, tears the crumb, and makes leveling messy. Let layers cool in their pans for 10 minutes, then turn out onto a wire rack and cool completely, which usually takes at least an hour for a standard 9-inch layer. For the cleanest results, wrap cooled layers in plastic and chill them for 30 minutes before leveling — a slightly firm, cold cake is much easier to cut evenly.
2. Level Each Layer
Most cakes bake with a slight dome on top. Left on, that dome makes the layers rock instead of sitting flat, and the finished cake leans. Use a long serrated knife, holding it level with one hand resting flat on top of the cake as a guide, and saw gently through in one continuous motion rather than pressing straight down. A wire cake leveler does this more precisely if you have one, but a steady hand and a serrated knife work fine.
Save the trimmed-off dome pieces — cake scraps work well in trifles, cake pops, or simply as a baker's snack.
3. Choose and Prepare Your Filling
Buttercream, ganache, pastry cream, and fruit preserves are all common fillings, and each behaves a little differently. A thin, runny filling (like a loose fruit compote) needs a buttercream "dam" — a ring of stiffer frosting piped around the outer edge of the layer before the filling goes inside it — or it will push out the sides as the next layer is added. Buttercream and ganache are thick enough to usually skip this step.
Spread filling in an even layer, slightly thinner near the edges than the center, since the weight of the layers above will spread it further once stacked.
4. Stack the Layers
Place the first layer cut-side up on a cake board or serving plate (a small dab of frosting underneath keeps it from sliding). Add filling, then place the next layer on top, lining up the edges as closely as possible rather than eyeballing it after the fact — it's much easier to adjust a layer right when you set it down than once frosting is involved.
For a cake taller than two layers, or one that will travel before serving, insert a few thin wooden dowels or plastic cake supports straight down through all the layers once stacked, trimmed flush with the top — this keeps the upper layers from slowly compressing the filling and sliding over time.
5. Apply the Crumb Coat
A crumb coat is a thin, somewhat messy-looking layer of frosting spread over the entire stacked cake, just thick enough to seal in loose crumbs. Don't try to make it look neat — its only job is to trap crumbs so they don't end up in your final, visible coat of frosting.
Chill the crumb-coated cake for 15–20 minutes, until the frosting is firm to the touch, before applying the final layer. Skipping this chilling step is the most common reason a "final" frosting coat still picks up crumbs.
6. Apply the Final Coat and Smooth It
Once the crumb coat is set, apply a generous, even layer of frosting over the top and sides. Smooth the sides with a bench scraper held at a slight angle against a turntable (or by slowly rotating the plate by hand), wiping the scraper clean between passes. Smooth the top last, pulling excess frosting in from the edges toward the center.
Frequently Asked Questions
Leveling, filling, and crumb coating aren't difficult steps individually — the cakes that come out leaning or messy are almost always the ones where a step got rushed, usually cooling or chilling. Give the cake time at each stage and the stacking and smoothing part takes care of itself.
The Cake Decorating & Frosting Handbook has a full lesson on layering, leveling, and crumb-coating, alongside 35 frosting and filling recipes to use once you're ready to fill a cake.
See the Cake Decorating & Frosting HandbookRelated Articles
How to Make Buttercream Frosting: Consistency, Flavor, and Troubleshooting
A full buttercream recipe with exact measurements, how to adjust it for spreading versus piping, real flavor variations, and what to do if it turns out grainy, soupy, or too stiff.
How to Decorate a Cake at Home: 10 Beginner-Friendly Techniques
You don't need a full piping-tip set or professional training to make a homemade cake look finished. Ten realistic techniques, starting with the tools that actually matter.
Cake Pan Sizes Explained: How to Choose the Right Pan and Adjust Baking Time
The same batter poured into a different-sized pan bakes completely differently. Here's how pan sizes compare, how to substitute one for another, and how to adjust time and temperature.