How to Decorate a Cake at Home: 10 Beginner-Friendly Techniques
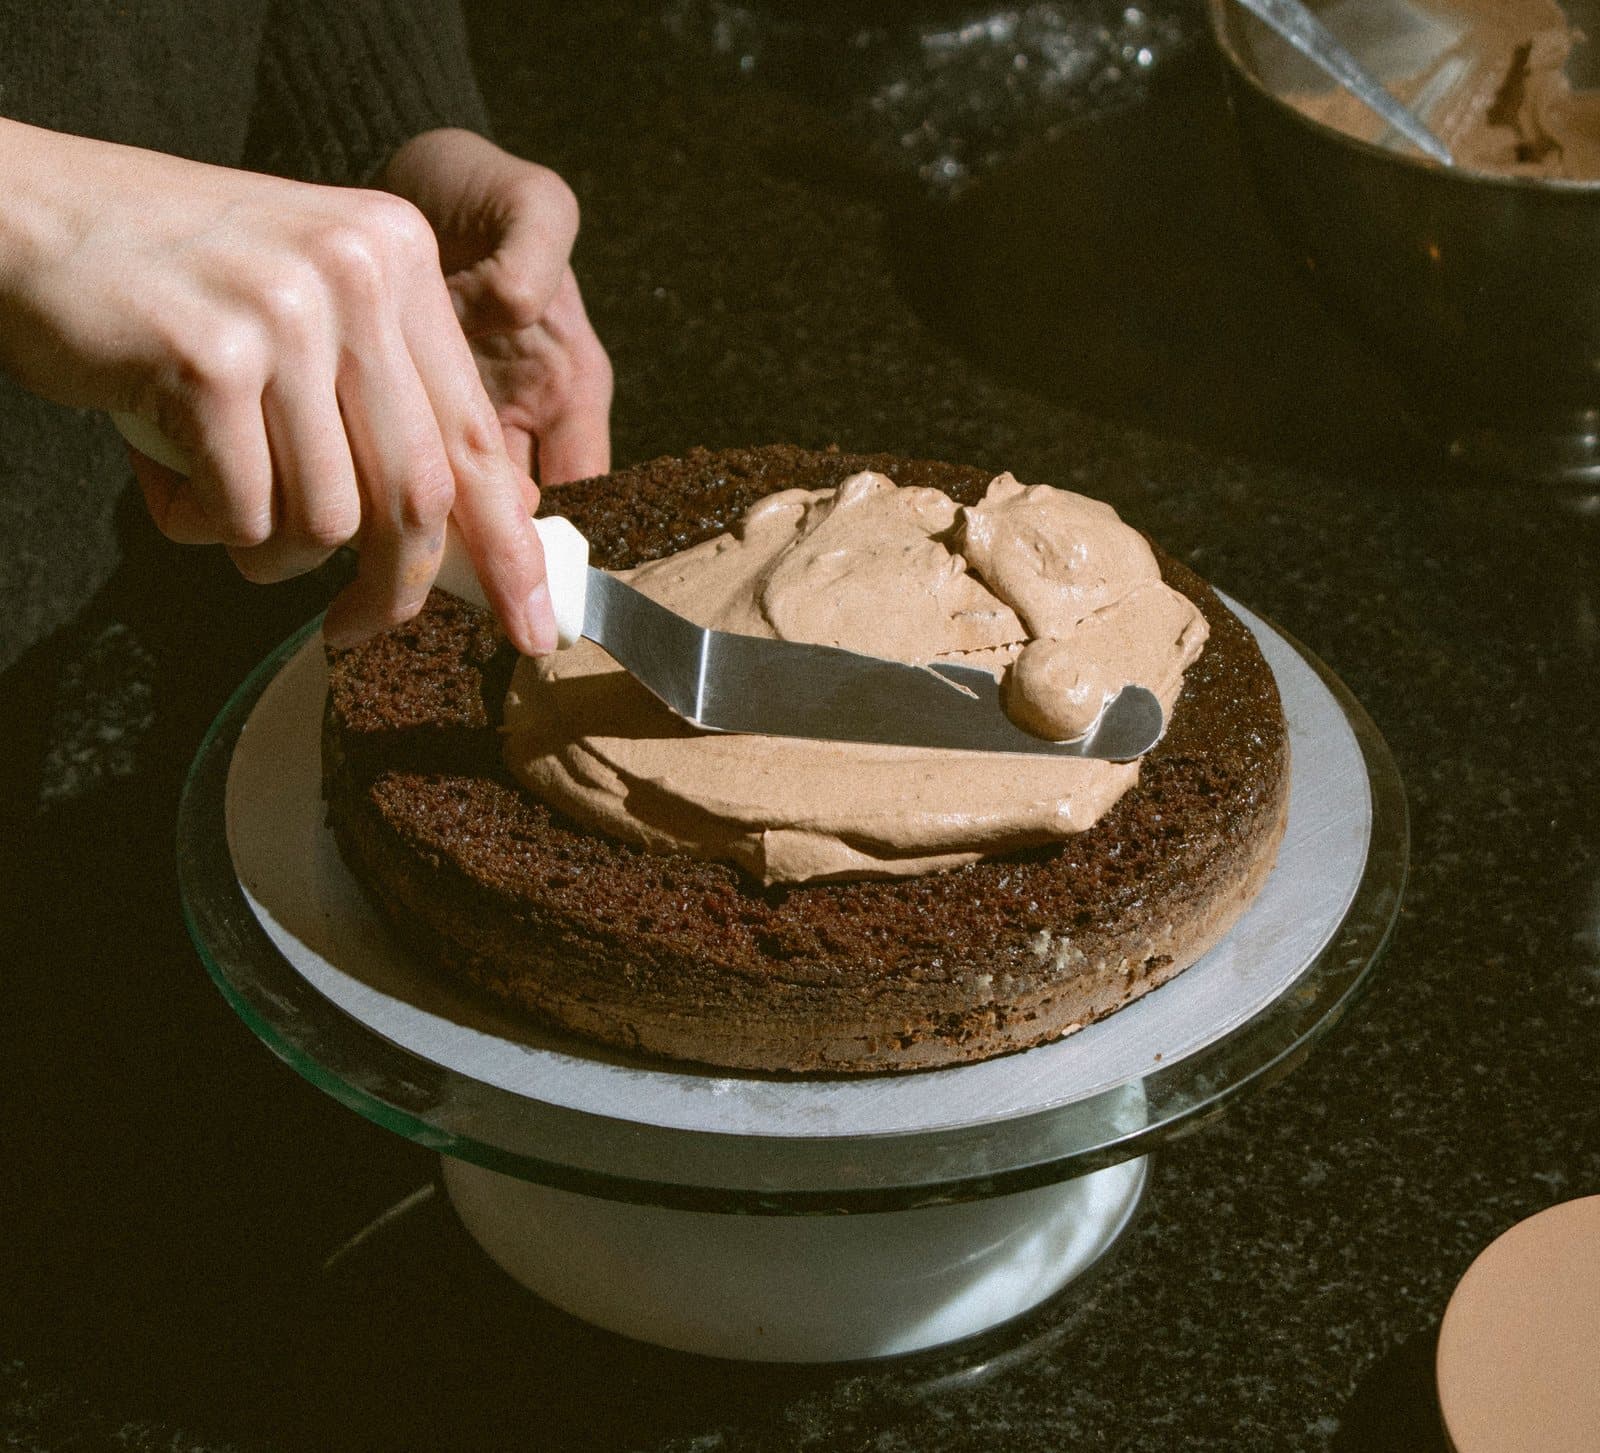
Cake decorating can look like it requires a huge kit of specialized tools and years of piping practice, but most of what makes a homemade cake look intentional comes from a handful of simple, repeatable techniques. None of these require a piping-tip collection or an airbrush — just a few basic tools and some patience with the first attempt.
Here are ten techniques ordered roughly from simplest to more involved, so you can pick based on how much time you have and how confident you're feeling.
The Basic Tools Worth Having
Before the techniques: an offset spatula (for spreading and smoothing), a bench scraper (for smoothing the sides), a turntable or lazy Susan, a few piping bags, and two or three piping tips — a round tip, a star tip, and a petal tip cover most of what follows. All of this is inexpensive and widely available; nothing here requires specialty equipment.
1. The Naked or Semi-Naked Finish
Apply only a thin crumb coat and leave it at that, letting the cake layers show through. This is the single easiest "decorated" look to achieve, since it specifically doesn't require smooth, even frosting — a few visible streaks look intentional rather than like a mistake.
2. Smooth Sides With a Bench Scraper
Apply a generous final coat of frosting, then hold a bench scraper at a slight angle against the side of the cake while slowly turning the turntable, wiping the scraper clean between rotations. A few passes gets noticeably smoother each time — this is more about repetition than skill.
3. The Textured Swirl Finish
Instead of smoothing the final coat, use the back of a spoon or a small offset spatula to create swooping, textured swirls across the top and sides. This hides imperfections rather than requiring a flawless base, making it one of the most forgiving finishes for a first attempt.
4. Basic Piped Borders
A simple shell or star border piped around the top and bottom edge of the cake, using a star tip, instantly reads as "finished." Practice the motion on a plate first — squeeze, stop, and pull away in one smooth motion, rather than dragging the tip along the surface.
5. Piped Rosettes
Using a star tip, pipe a small spiral starting from the center and circling outward, then release pressure and lift straight up. Covering an entire cake in rosettes is a classic, impressive-looking technique that's genuinely more about repetition than precision — small inconsistencies between rosettes aren't noticeable once the whole cake is covered.
6. A Simple Drip
Thin ganache or a simple glaze slightly (so it flows but isn't watery), then spoon it around the top edge of a chilled cake, letting it run down the sides at different lengths. Chilling the cake first is what keeps the drip from running all the way down to the plate — a frosting surface that's cold to the touch slows the ganache enough to stop partway down.
7. Fresh Fruit and Flower Toppings
Arranging fresh berries, sliced fruit, or (food-safe, pesticide-free) edible flowers on top of a cake requires no piping skill at all and looks deliberately elegant. Arrange in odd-numbered clusters rather than a perfectly even ring for a more natural-looking result.
8. Basic Color Blocking or Ombré
Tint frosting in two or three shades of the same color, applying the darkest around the base and the lightest near the top, then smooth with a bench scraper so the colors blend slightly at the transitions. This uses the same smoothing technique as #2, just with multiple colors applied in bands first.
9. A Simple Stencil
Hold a food-safe stencil against the side of a smoothly frosted, chilled cake and dust cocoa powder, powdered sugar, or luster dust over it with a small sieve or brush. Chilling the cake first firms the frosting enough that the stencil won't smudge it.
10. Hand-Piped Lettering
Using a small round tip, piped writing ties a cake to a specific occasion more than almost any other technique. Practice the exact wording on parchment paper first, and pipe the actual message in one continuous, steady motion rather than lifting and restarting mid-word, which is what usually causes uneven letters.
Frequently Asked Questions
None of these ten techniques requires professional training — they require the right basic tools, a chilled cake at the right stages, and a willingness to practice a motion on parchment before committing it to the actual cake. Start with the simplest finishes and work up to piping as you get more comfortable.
The Cake Decorating & Frosting Handbook covers piping basics, troubleshooting, and 15 full decorating techniques in detail, from borders to buttercream flowers.
See the Cake Decorating & Frosting HandbookRelated Articles
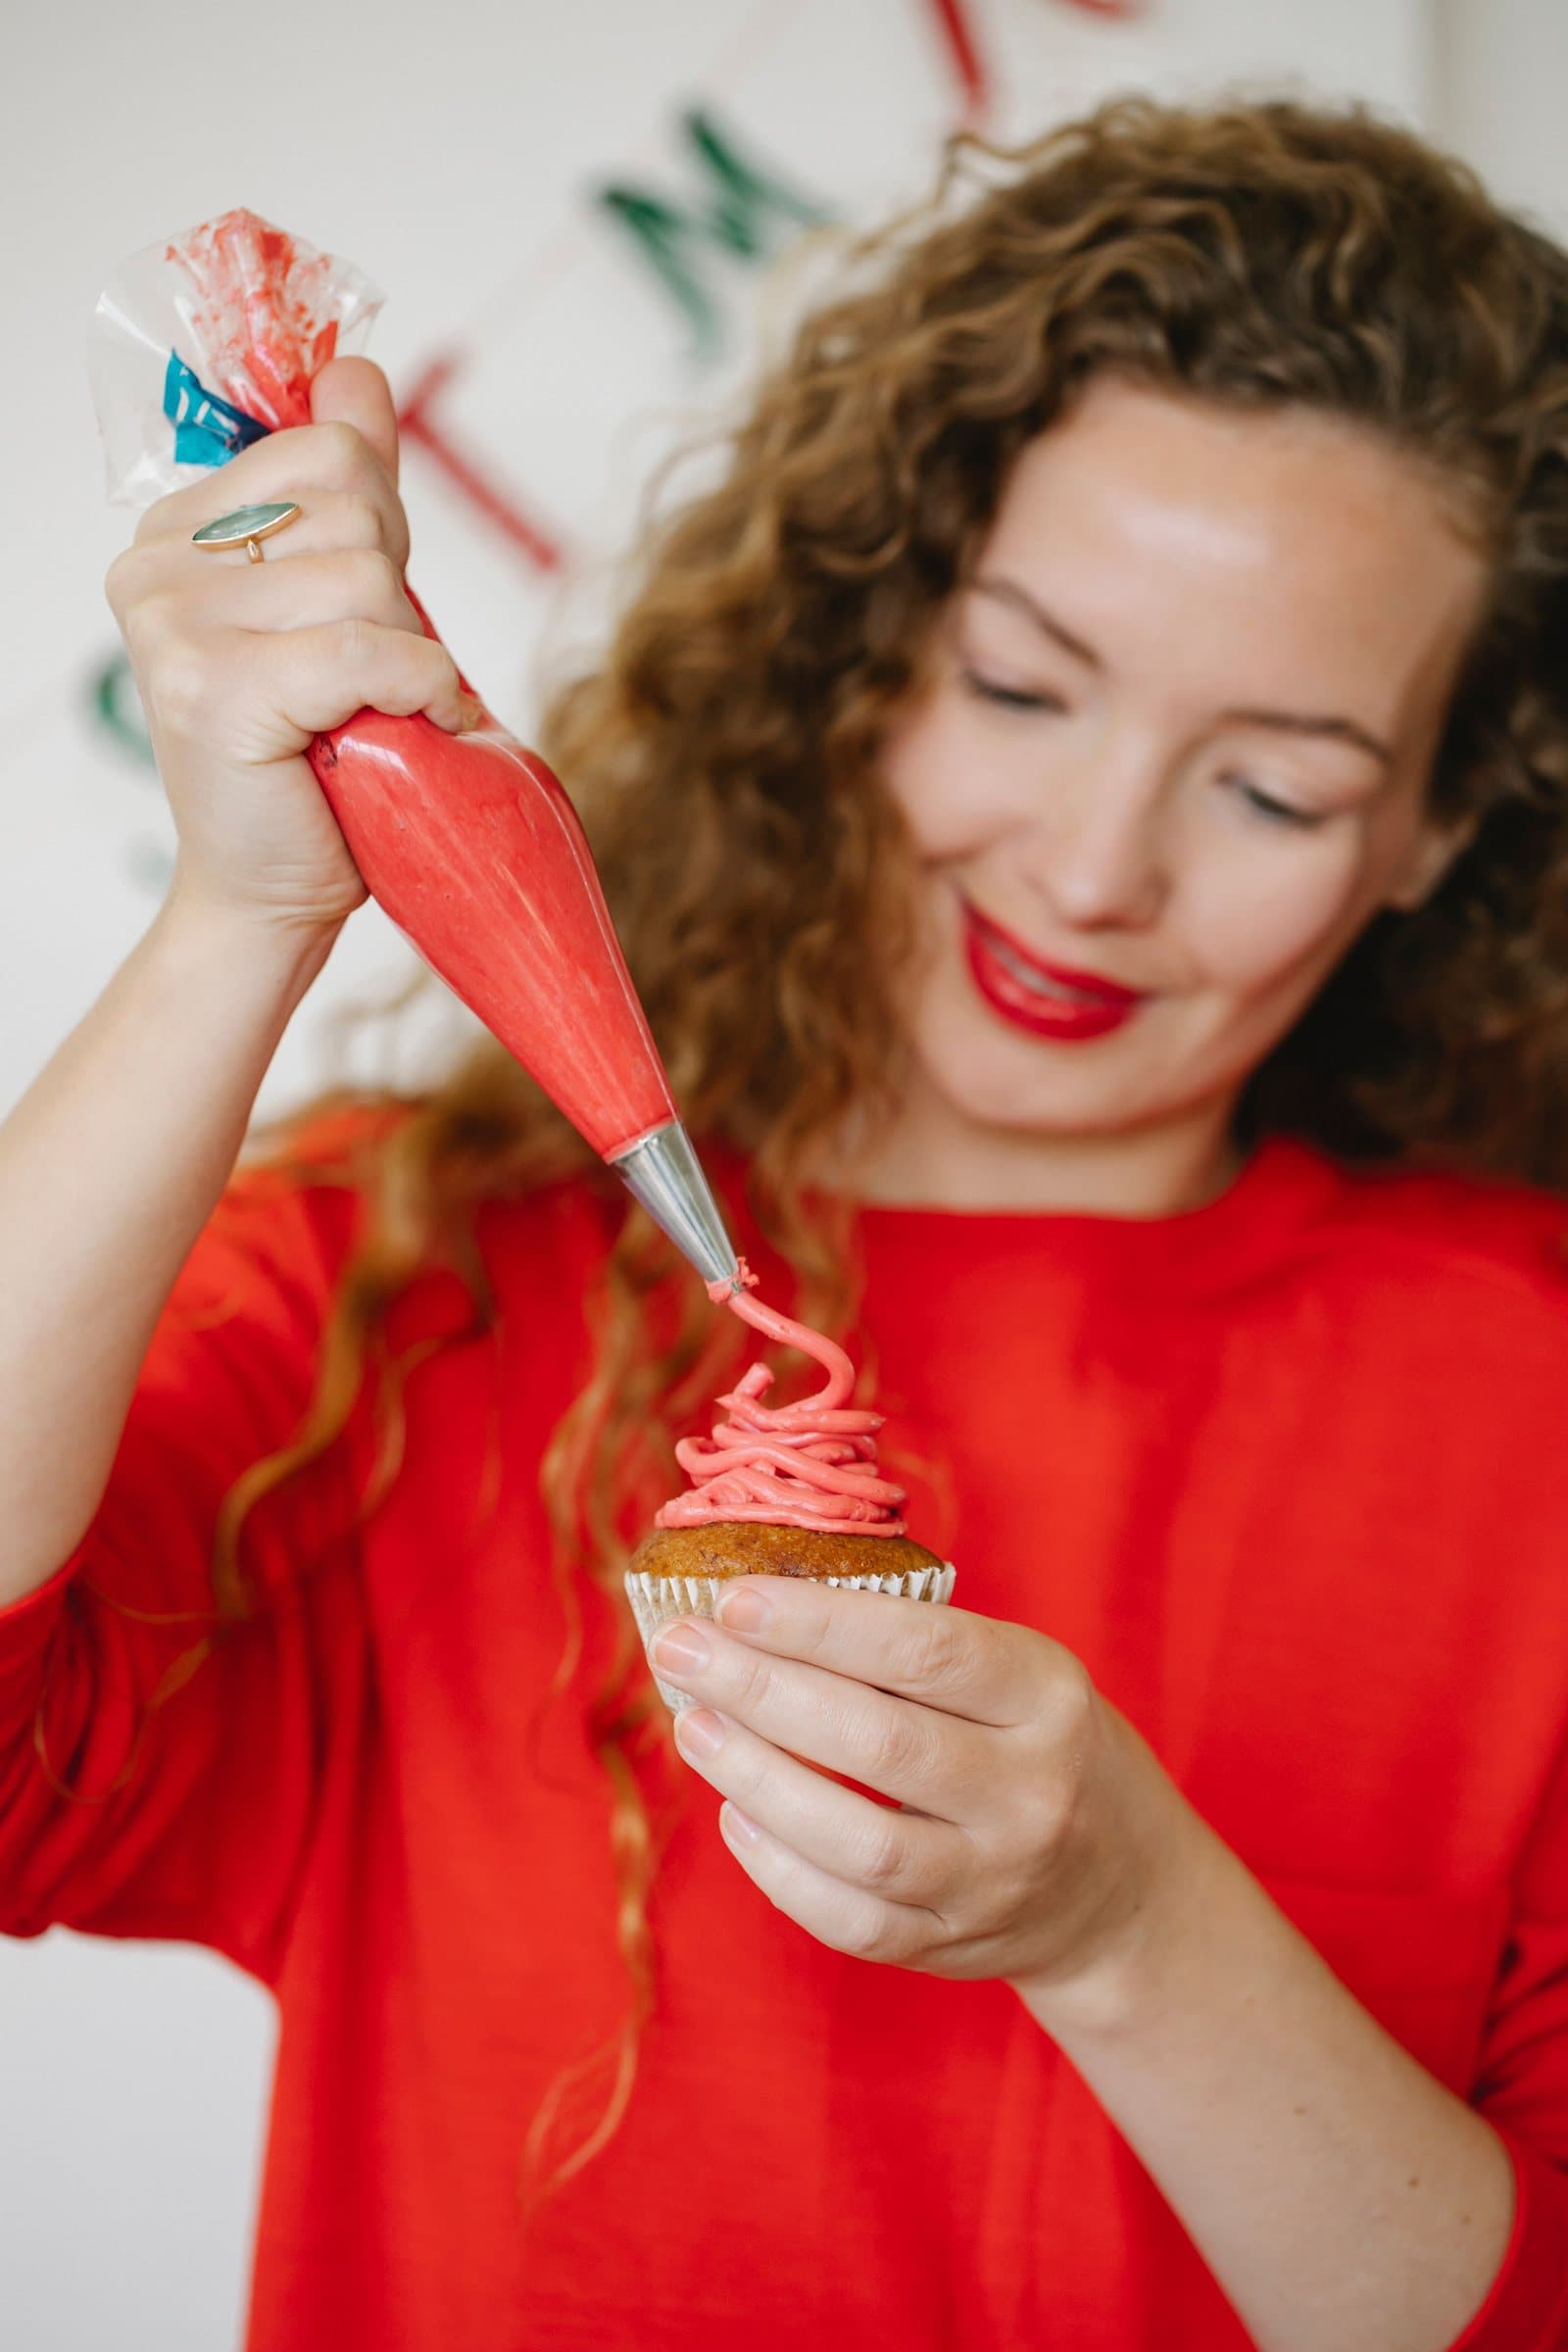
How to Make Buttercream Frosting: Consistency, Flavor, and Troubleshooting
A full buttercream recipe with exact measurements, how to adjust it for spreading versus piping, real flavor variations, and what to do if it turns out grainy, soupy, or too stiff.
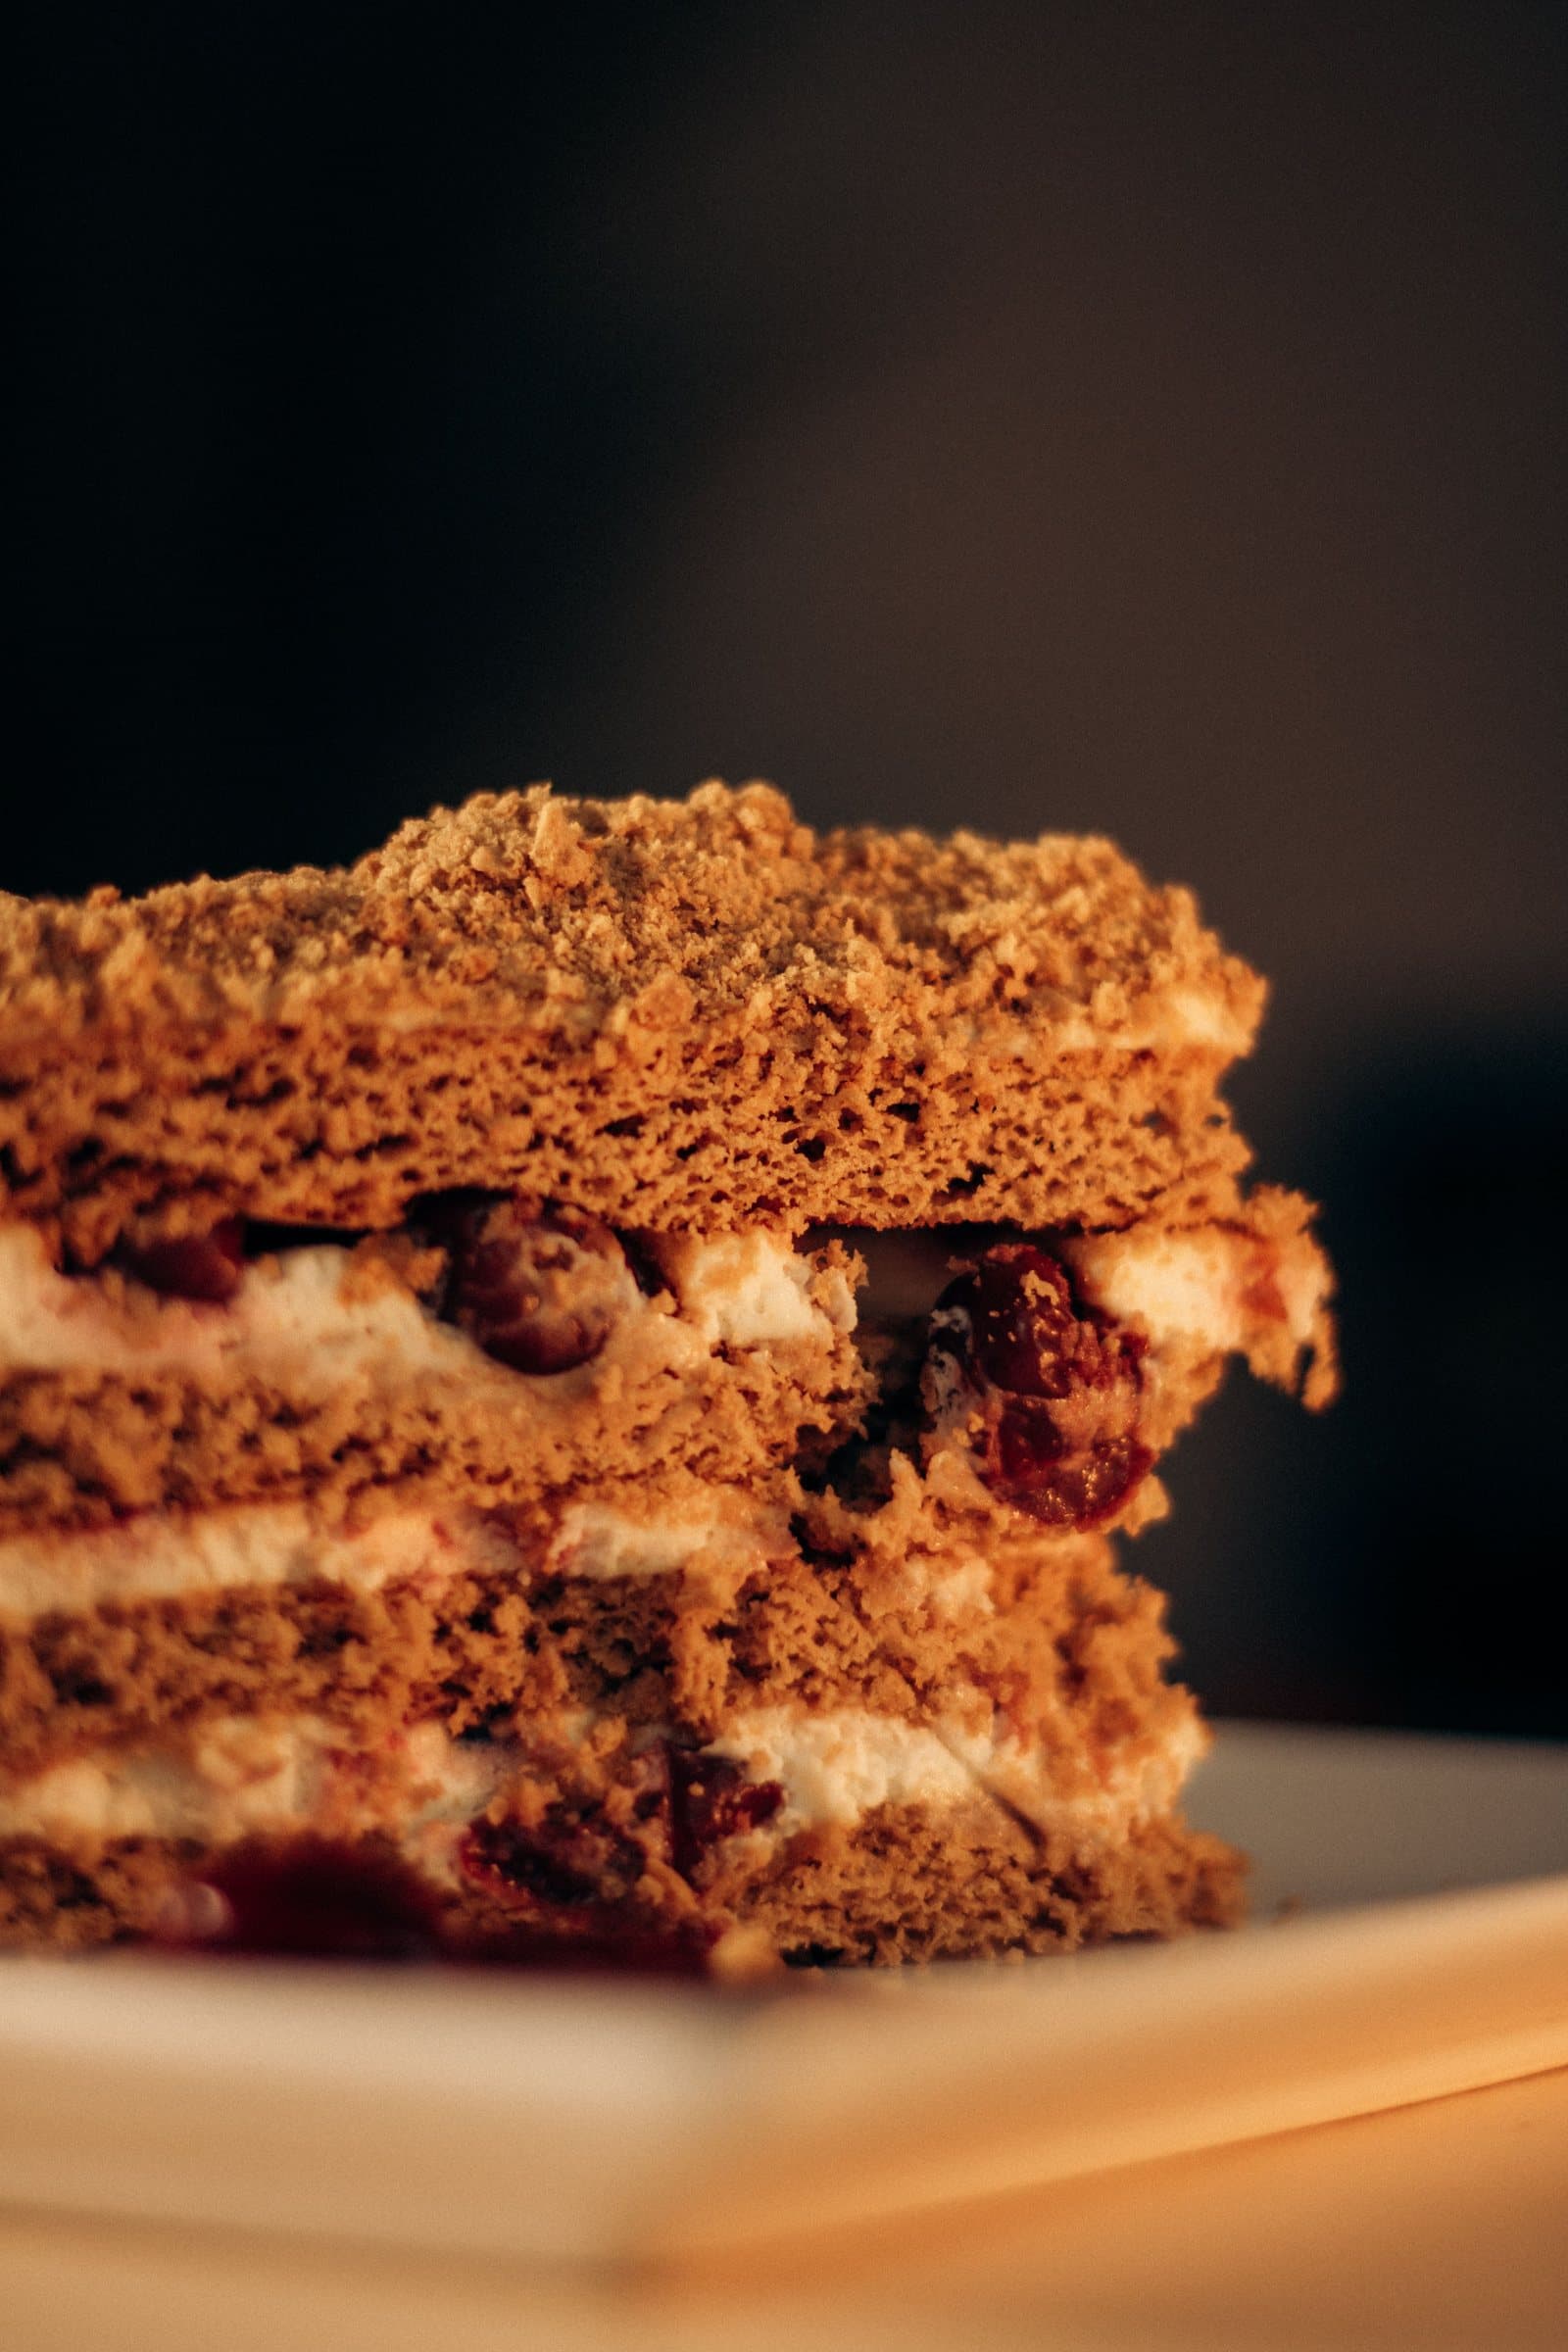
How to Level, Fill, and Stack a Layer Cake for Beginners
Leveling, filling, and stacking are what separate a cake that leans or slides from one that stands straight and cuts clean. Here's the full process, step by step.
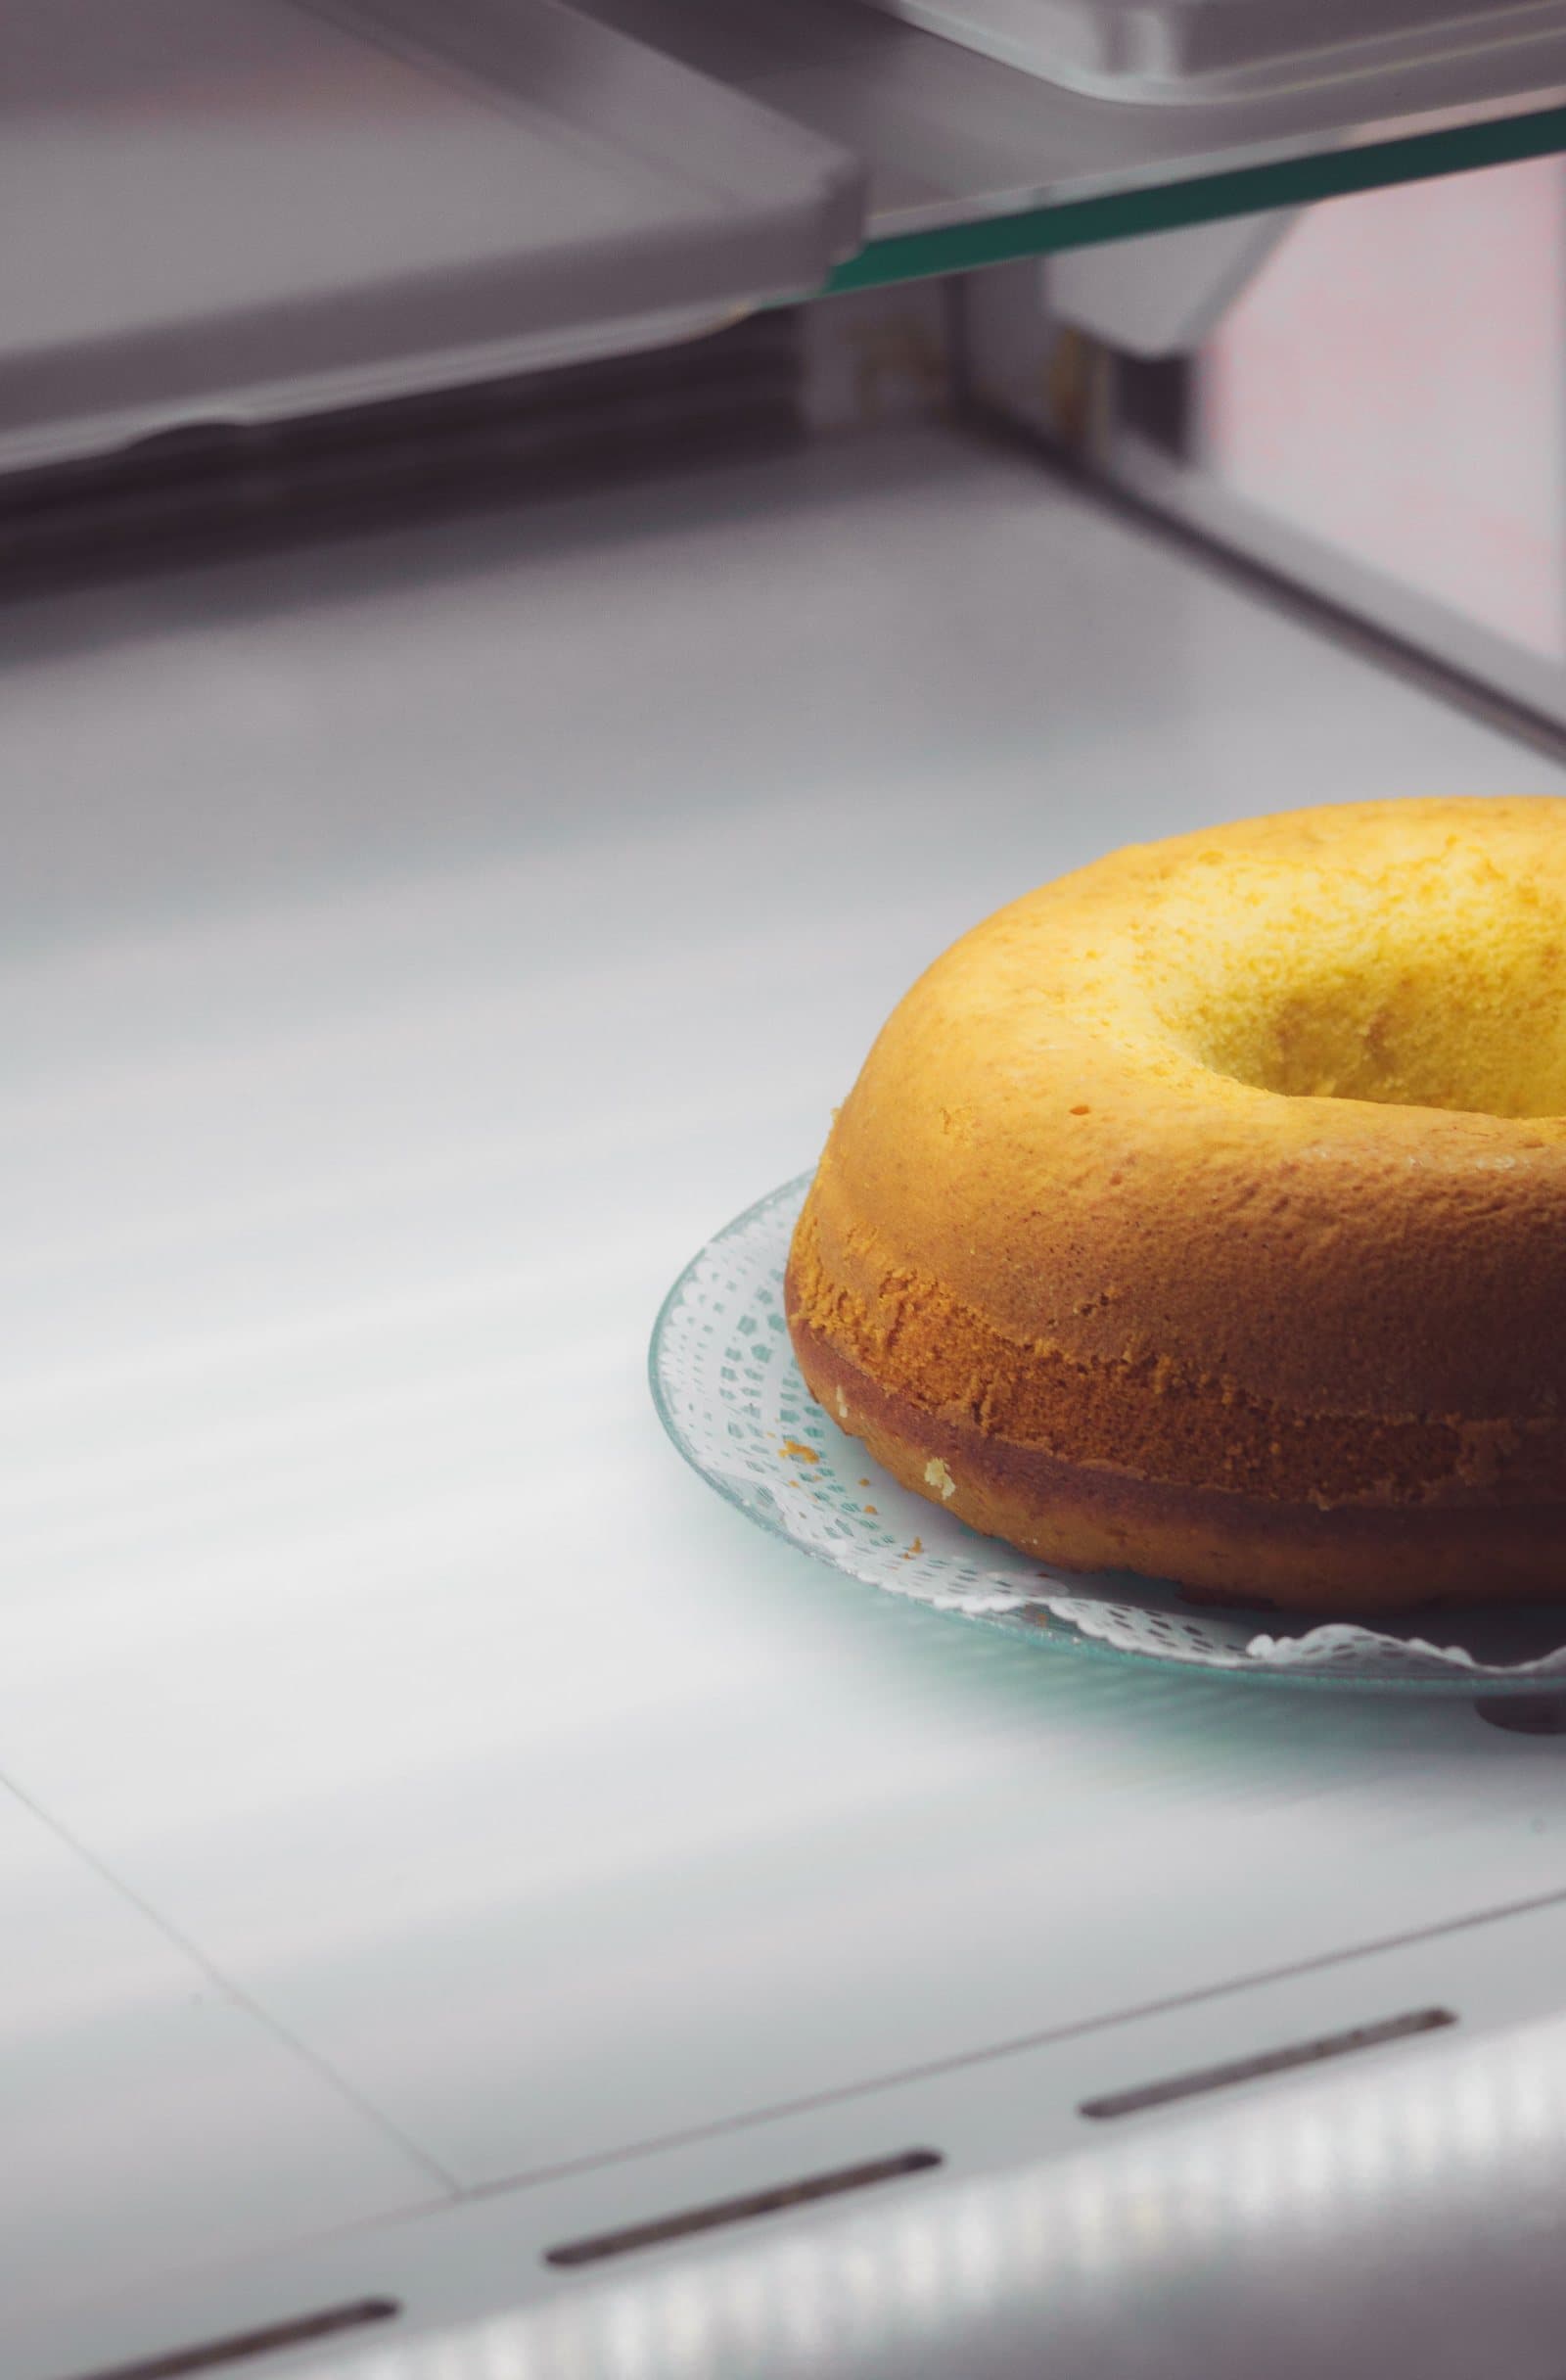
How to Store, Freeze, and Thaw Cakes Without Losing Quality
Not every cake and frosting stores the same way. Here's how to handle unfrosted layers, buttercream, cream-cheese frosting, and fresh fruit toppings correctly — and how to freeze and thaw without drying the cake out.